

Automatic Database Backup to Nextcloud
Keeping your Odoo data safe is essential for uninterrupted business operations. Easy Instance lets you automate database backups and store them securely in your Nextcloud account — a self-hostable, open-source cloud storage solution.
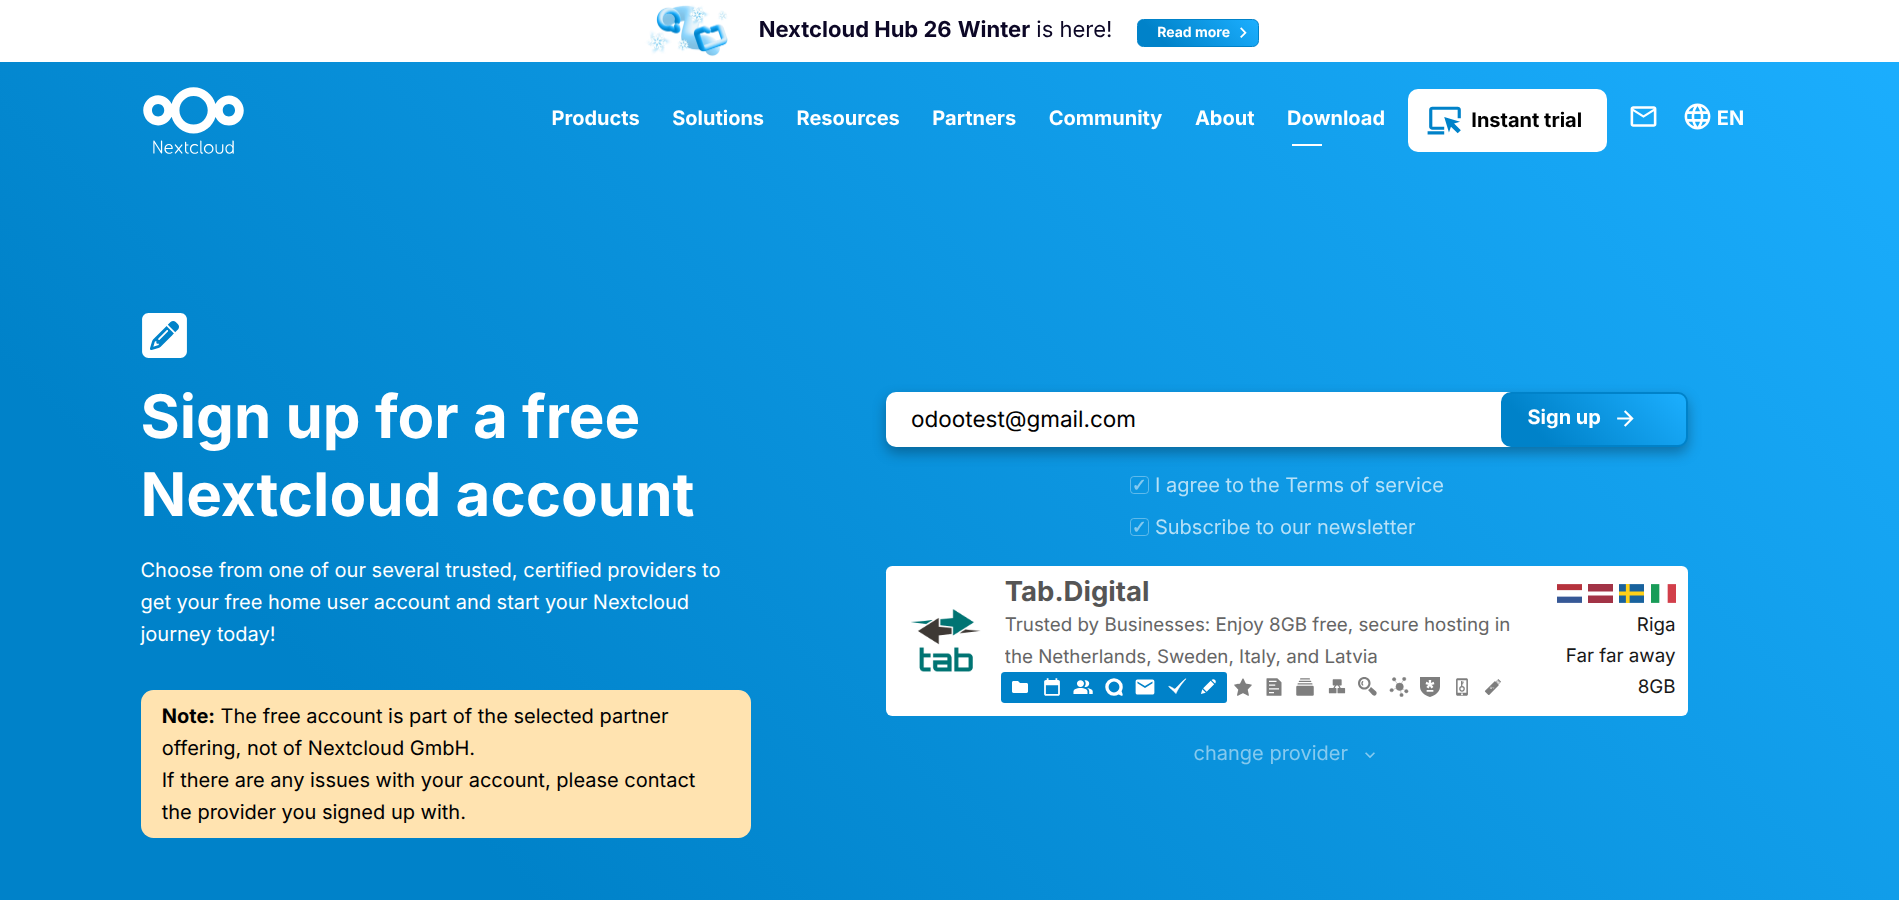
1. Create a Nextcloud Account
If you don't already have a Nextcloud account, you need to sign up first.
- Visit the Nextcloud Sign-Up page.
- Enter your email address and click Sign Up.
- Follow the instructions sent to your email to complete the registration process.
2. Log in to Nextcloud
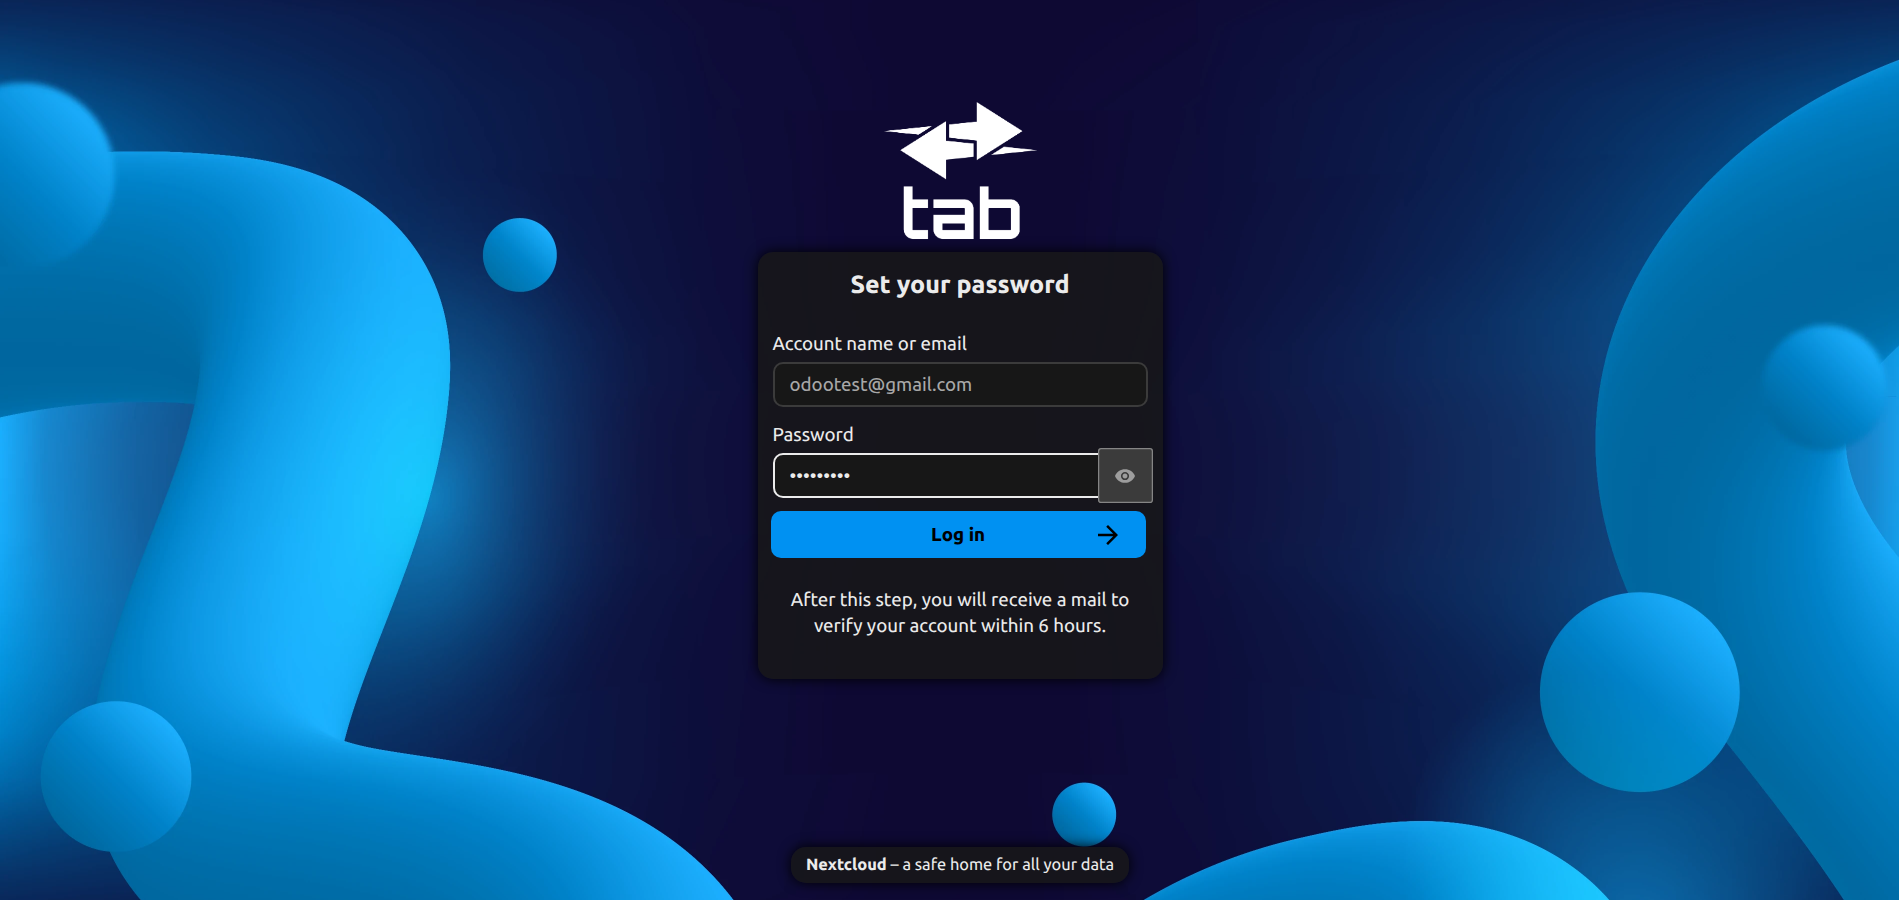
Once your account is created, log in to access the dashboard.
- Go to the Nextcloud login page (the URL provided during sign-up or your self-hosted Nextcloud URL).
- Enter your email and password.
- Click Log in to access your Nextcloud account.
3. Retrieve Your Nextcloud Domain Name
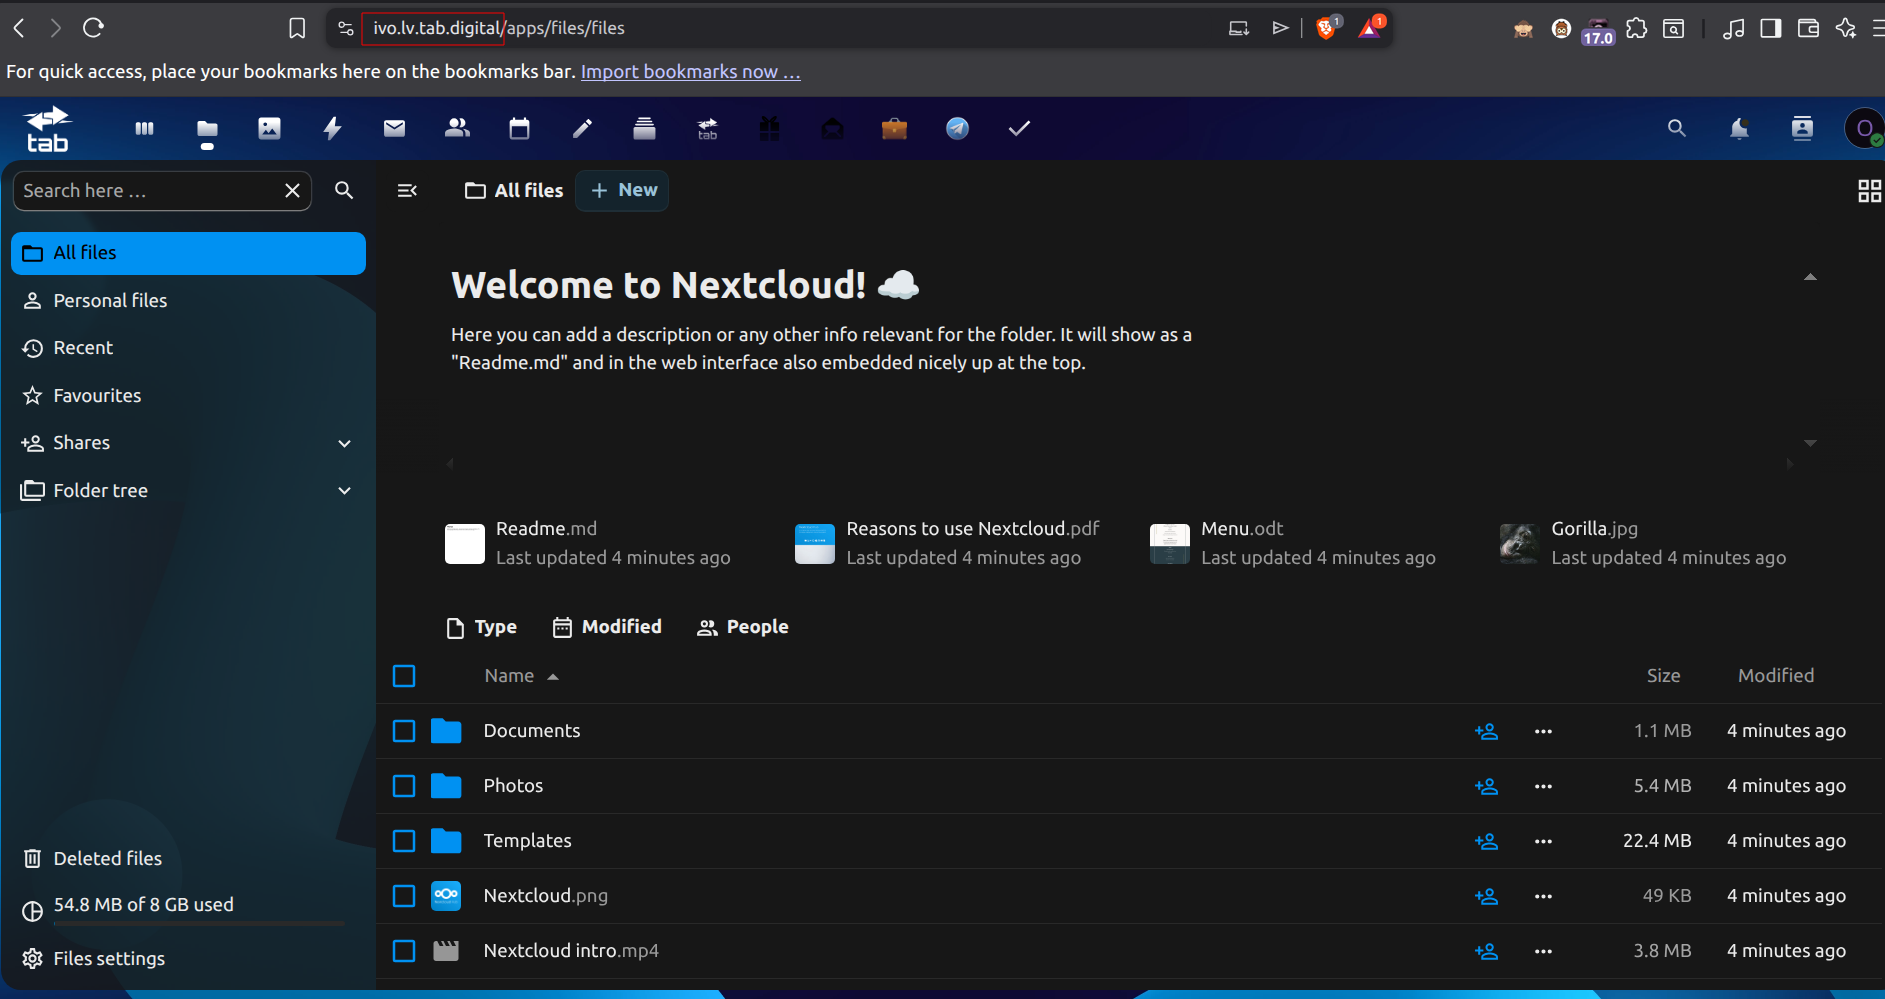
You will need your Nextcloud domain name to configure the backup settings in Easy Instance.
- Once logged in, look at your browser's address bar.
- Copy the domain name from the URL.
- Example: If your URL is
https://demo.nextcloud.com/apps/dashboard, your domain name isdemo.nextcloud.com.
- Example: If your URL is
4. Configure Easy Instance Backup Settings & Test the Connection
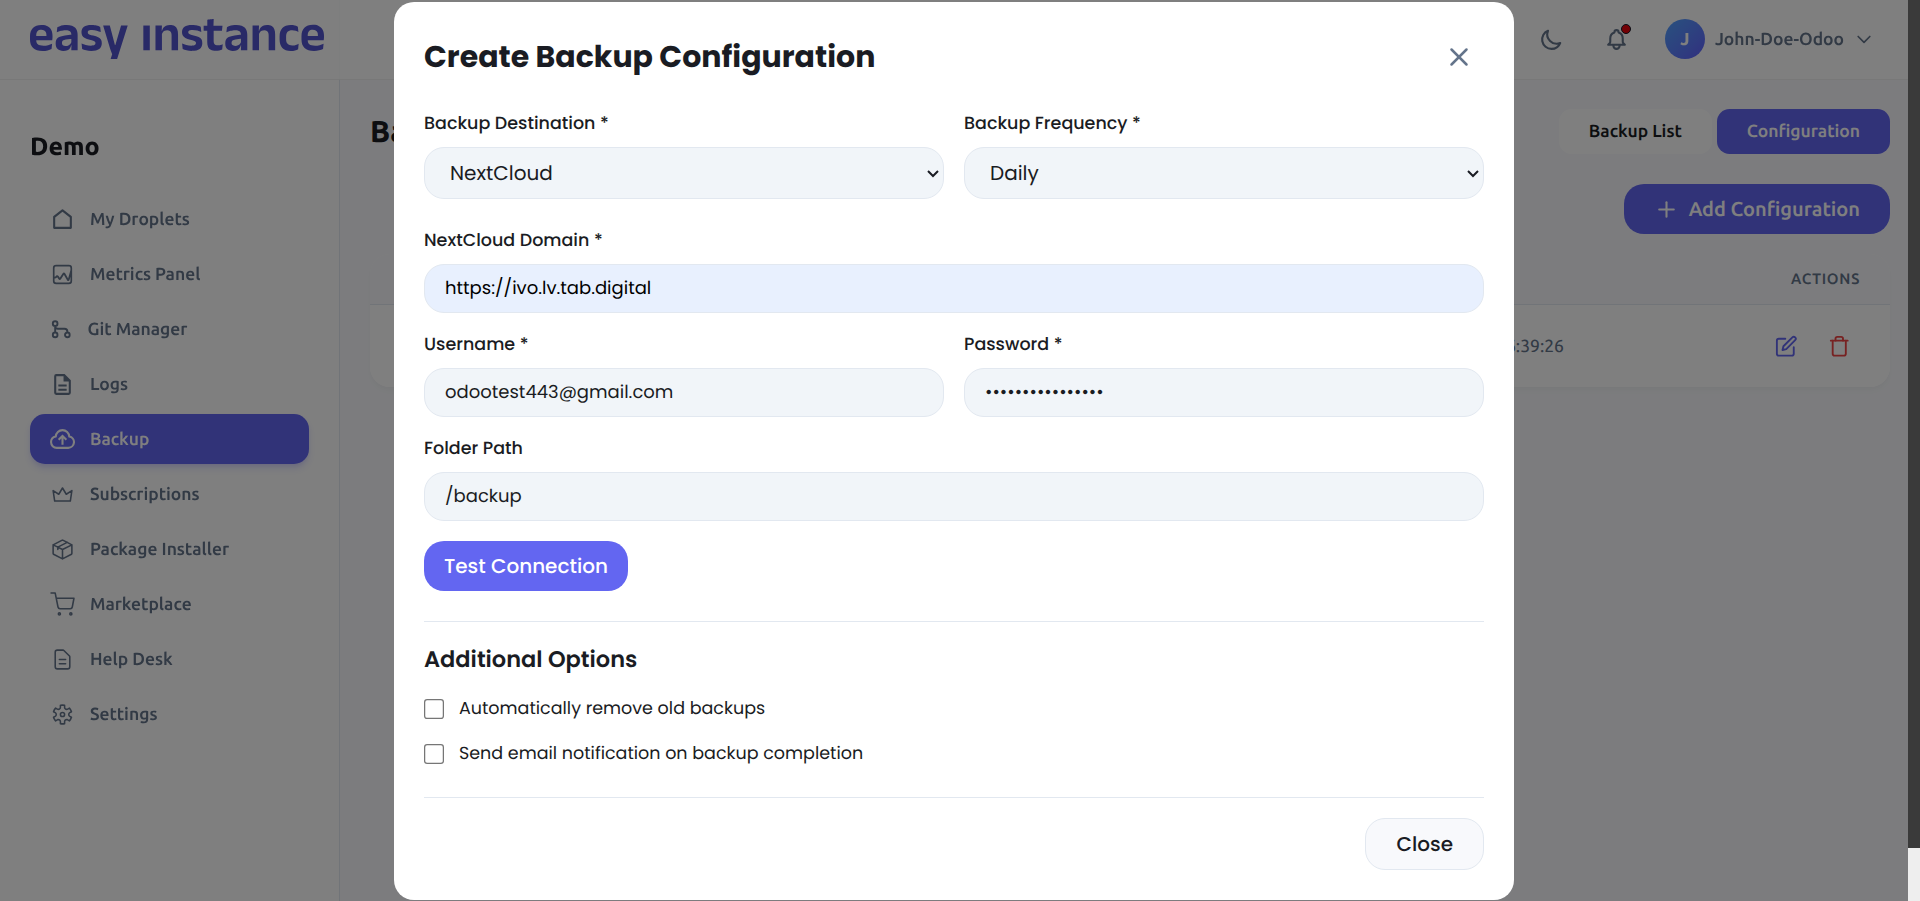
Now, apply your Nextcloud credentials to the backup configuration in your Odoo instance dashboard.
- Navigate to the Backup Configuration section in your Easy Instance dashboard.
- Select Nextcloud as the backup destination.
- Enter the following details:
- Domain Name: The Nextcloud domain retrieved in Step 3.
- Username: Your Nextcloud account username.
- Password: Your Nextcloud account password.
- Folder Name: The name of the folder inside Nextcloud where backups will be stored.
- Click the Test Connection button to verify that Easy Instance can communicate with your Nextcloud account.
- A success message will confirm that the credentials are correct and the folder is accessible.
Note: If the connection test fails, double-check your domain name, username, password, and ensure the specified folder exists in your Nextcloud account.
5. Verify Backups
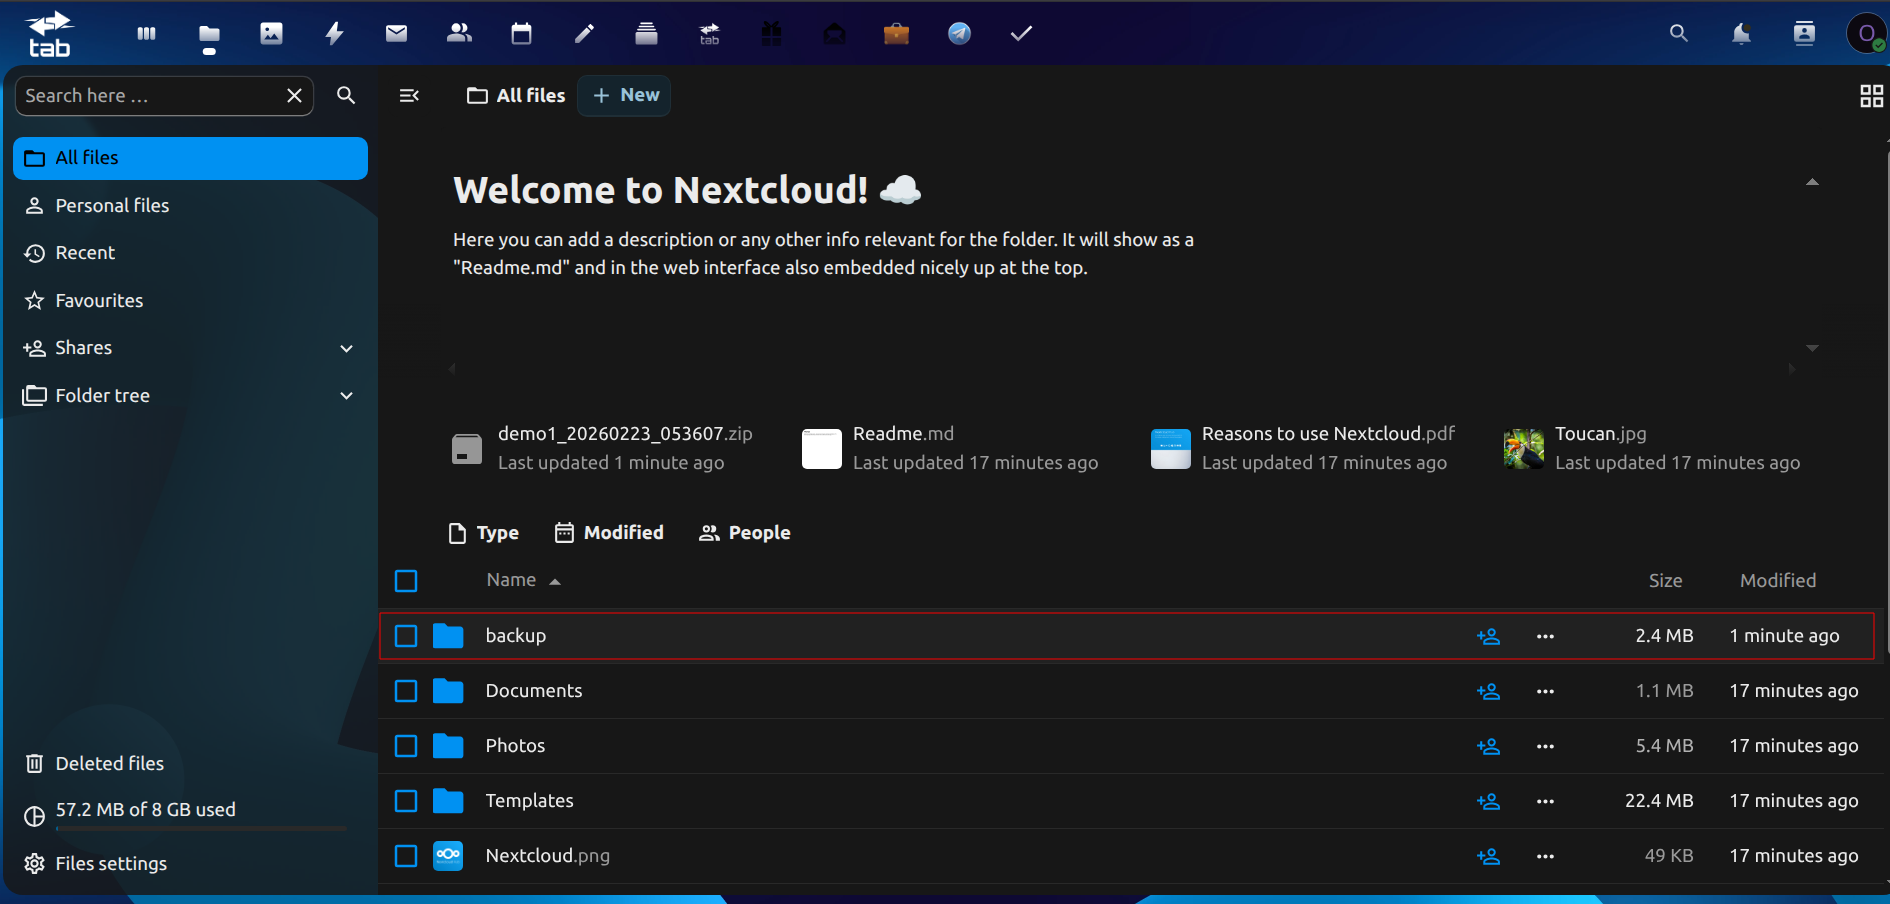
Once configured, backups will be automatically uploaded to your specified Nextcloud folder according to the backup schedule.
- You can monitor the status of your backups in the Backup List on the dashboard.
- Log in to your Nextcloud account and navigate to the specified folder to verify the backup files are present.
Tip: Use the Backup Now button to trigger a manual backup immediately and confirm the Nextcloud connection is working correctly.