

Automatic Database Backup to Google Drive
Ensuring the safety of your data is critical for uninterrupted business operations. Easy Instance simplifies database backup management by offering automated background backups to multiple secure storage options, including Google Drive.
This guide specifically covers how to configure automatic backups to your Google Drive account.
1. Create a Google API Project
To start, you need to enable the Google Drive API in the Google Cloud Console.
- Log in to the Google Cloud Console.
- Create a new project (or select an existing one).
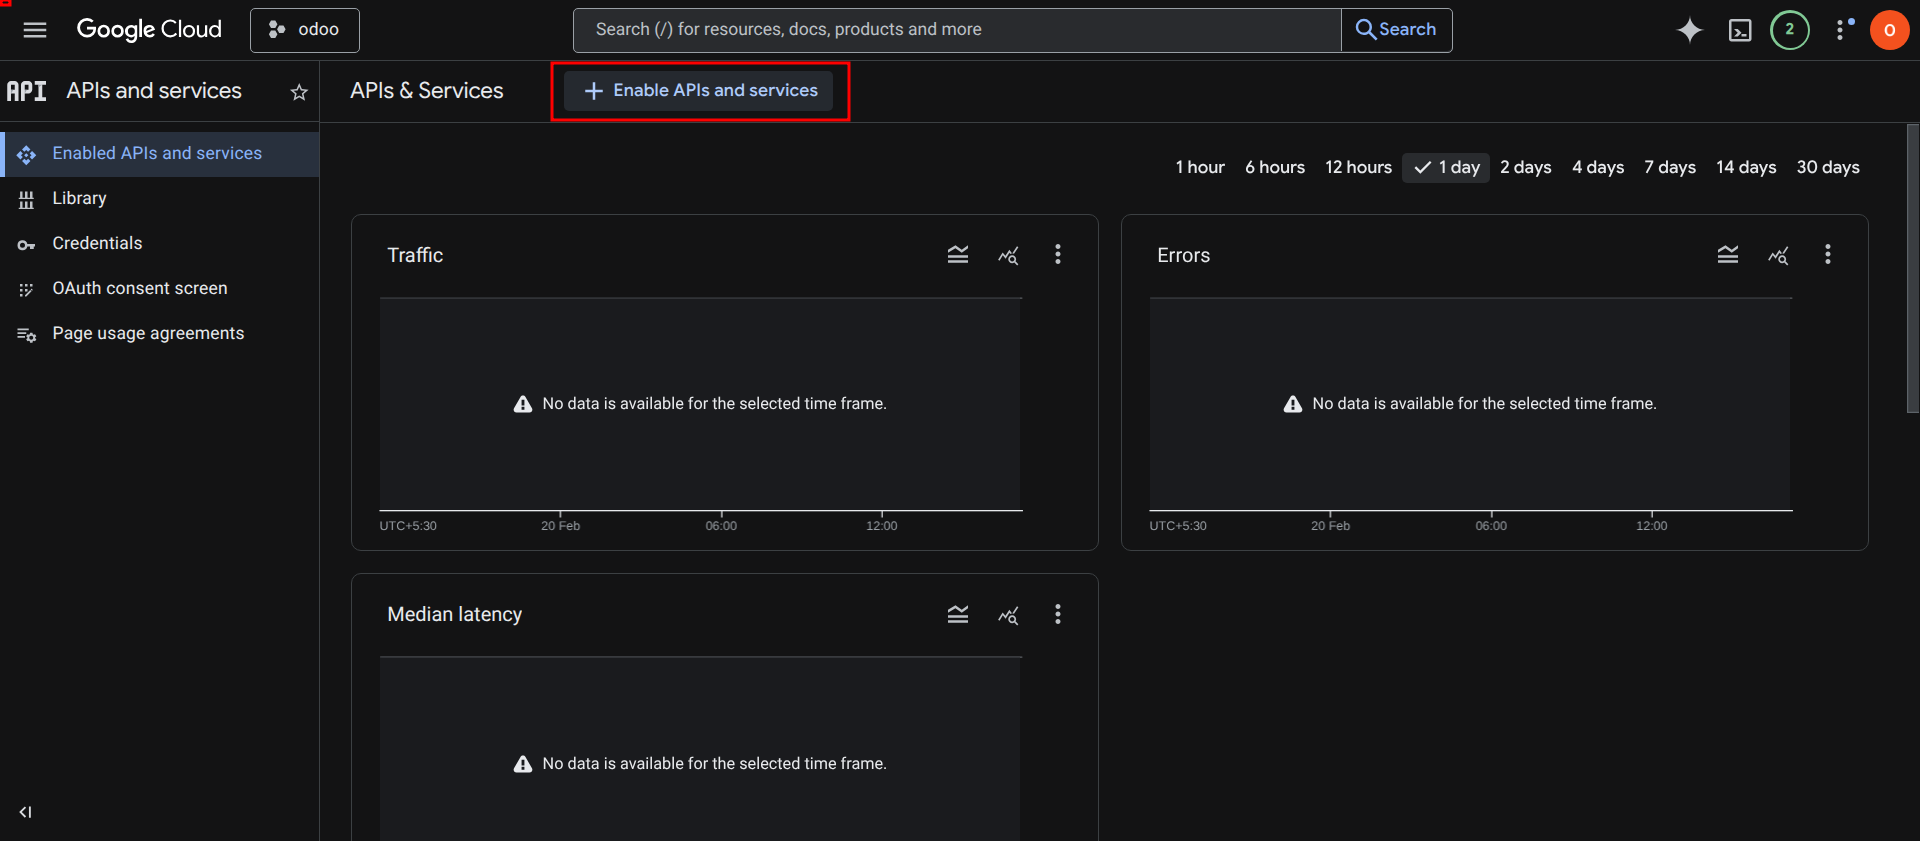
- From the sidebar, select APIs & Services > Library.
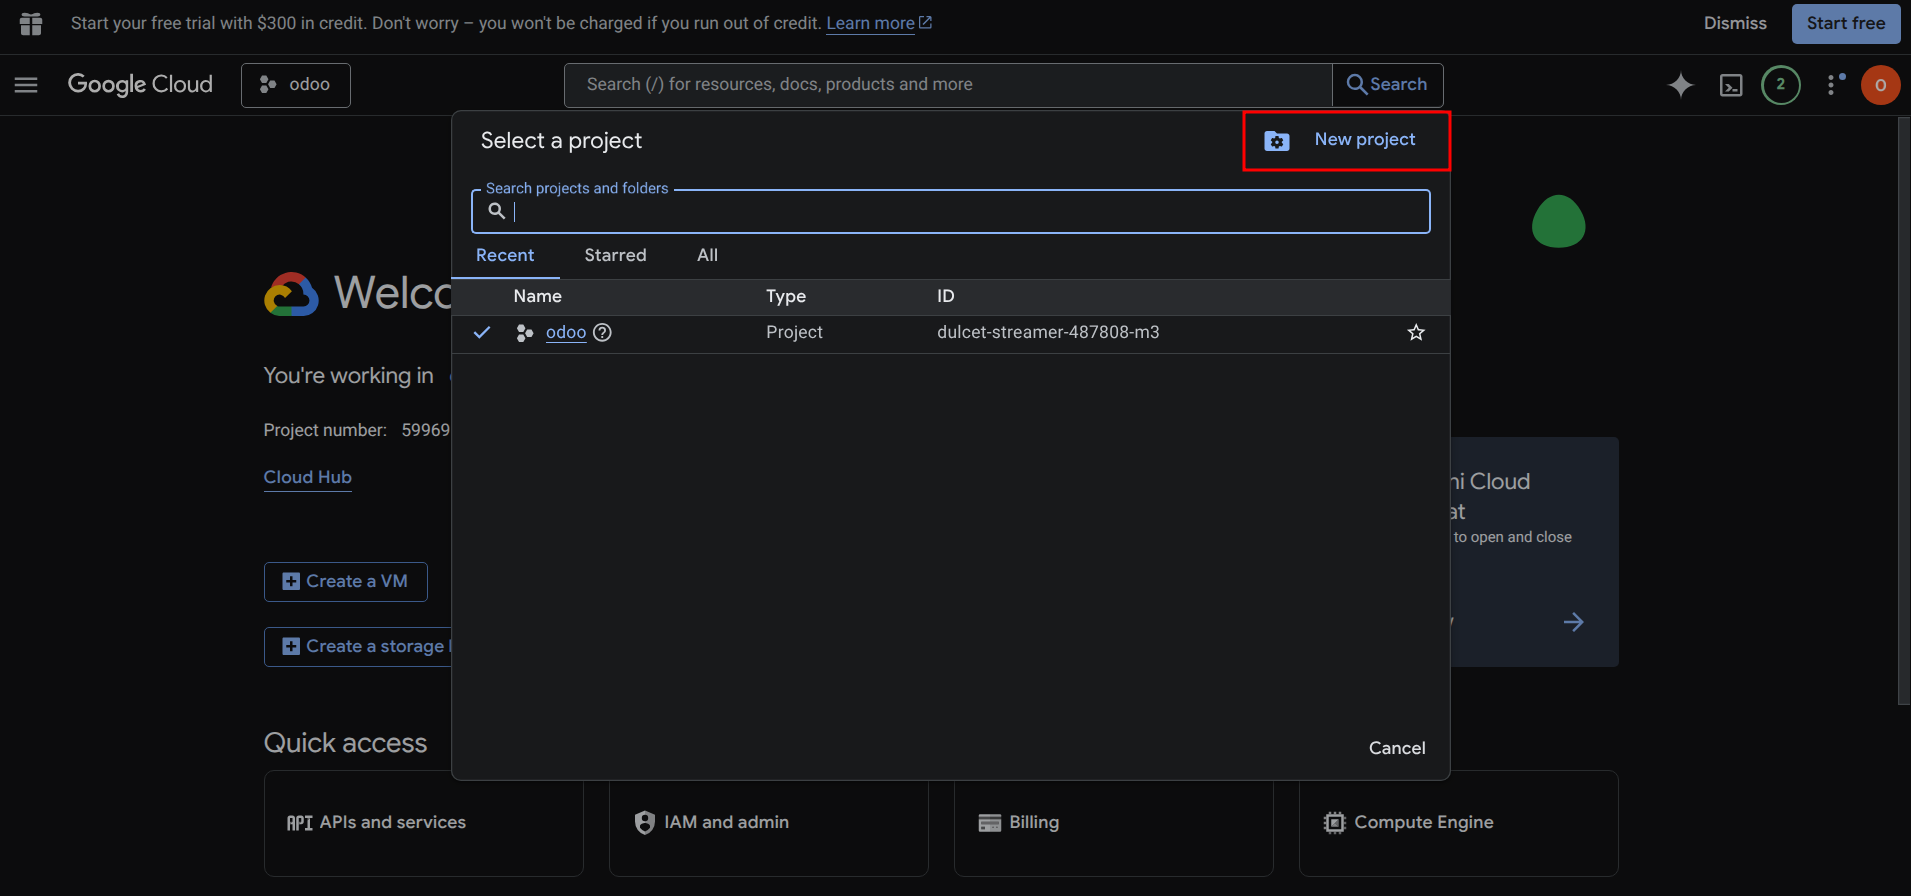
- Search for Google Drive API and click on it.
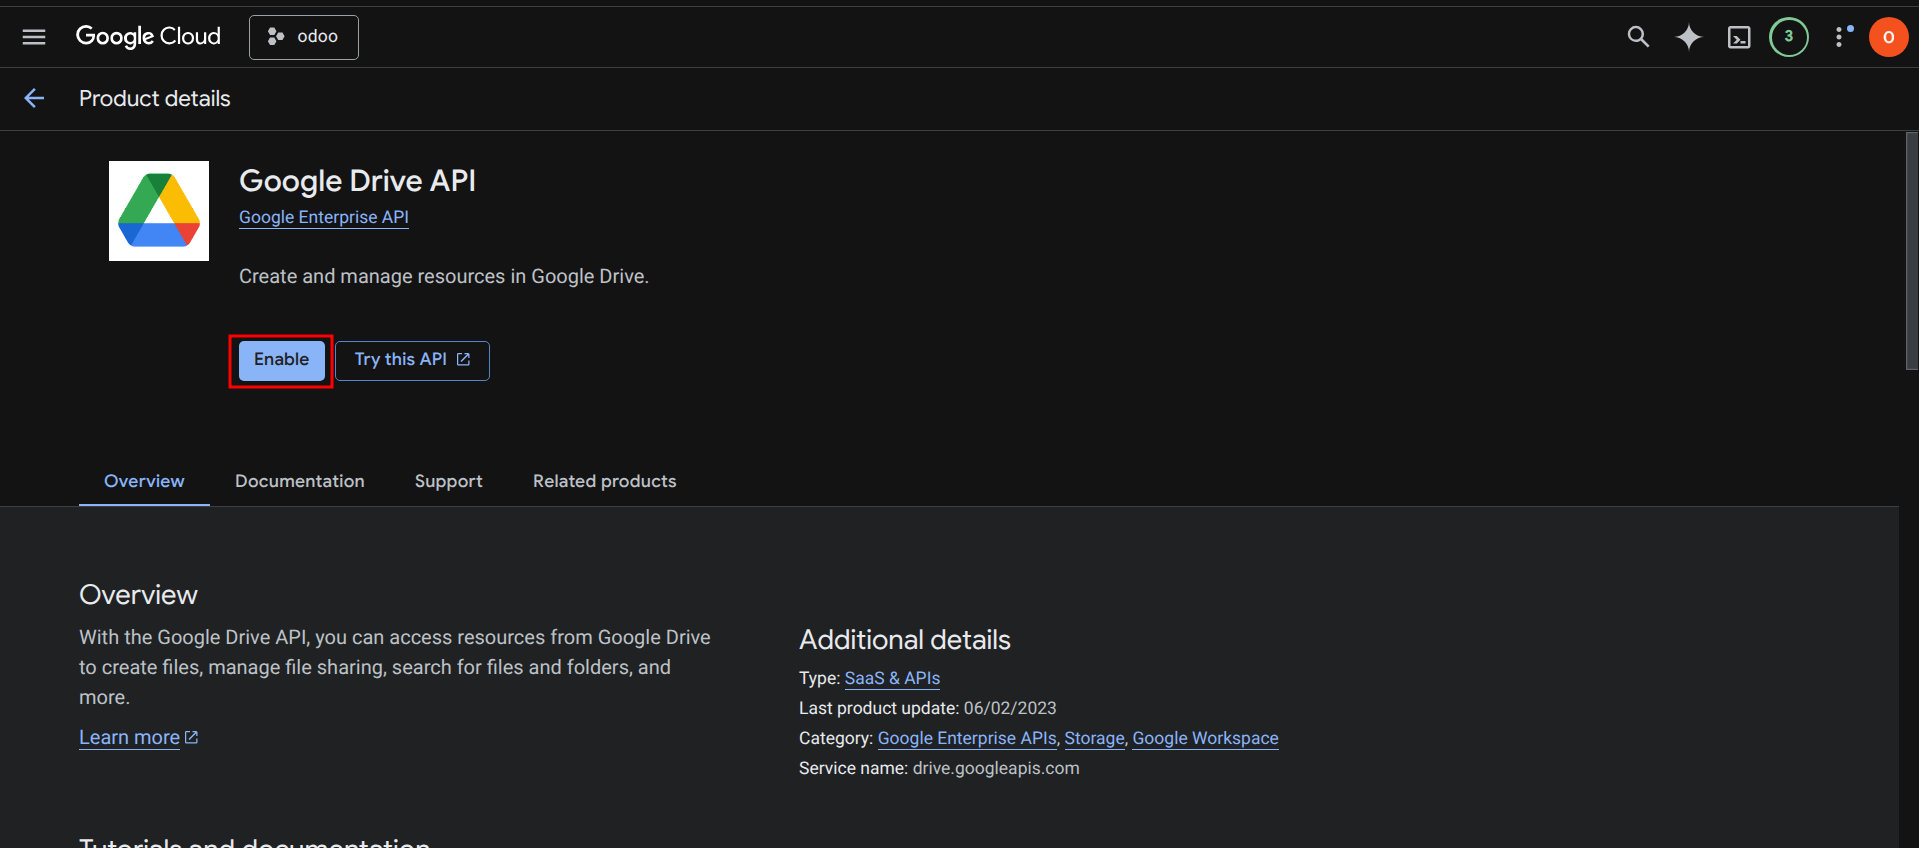
- Click the Enable button.
2. Create Credentials
After enabling the API, you need to set up the authentication credentials.
- Navigate to the OAuth consent screen tab.
- Create the project configuration by following the "Get Started" guide.
- Go to the Credentials tab.
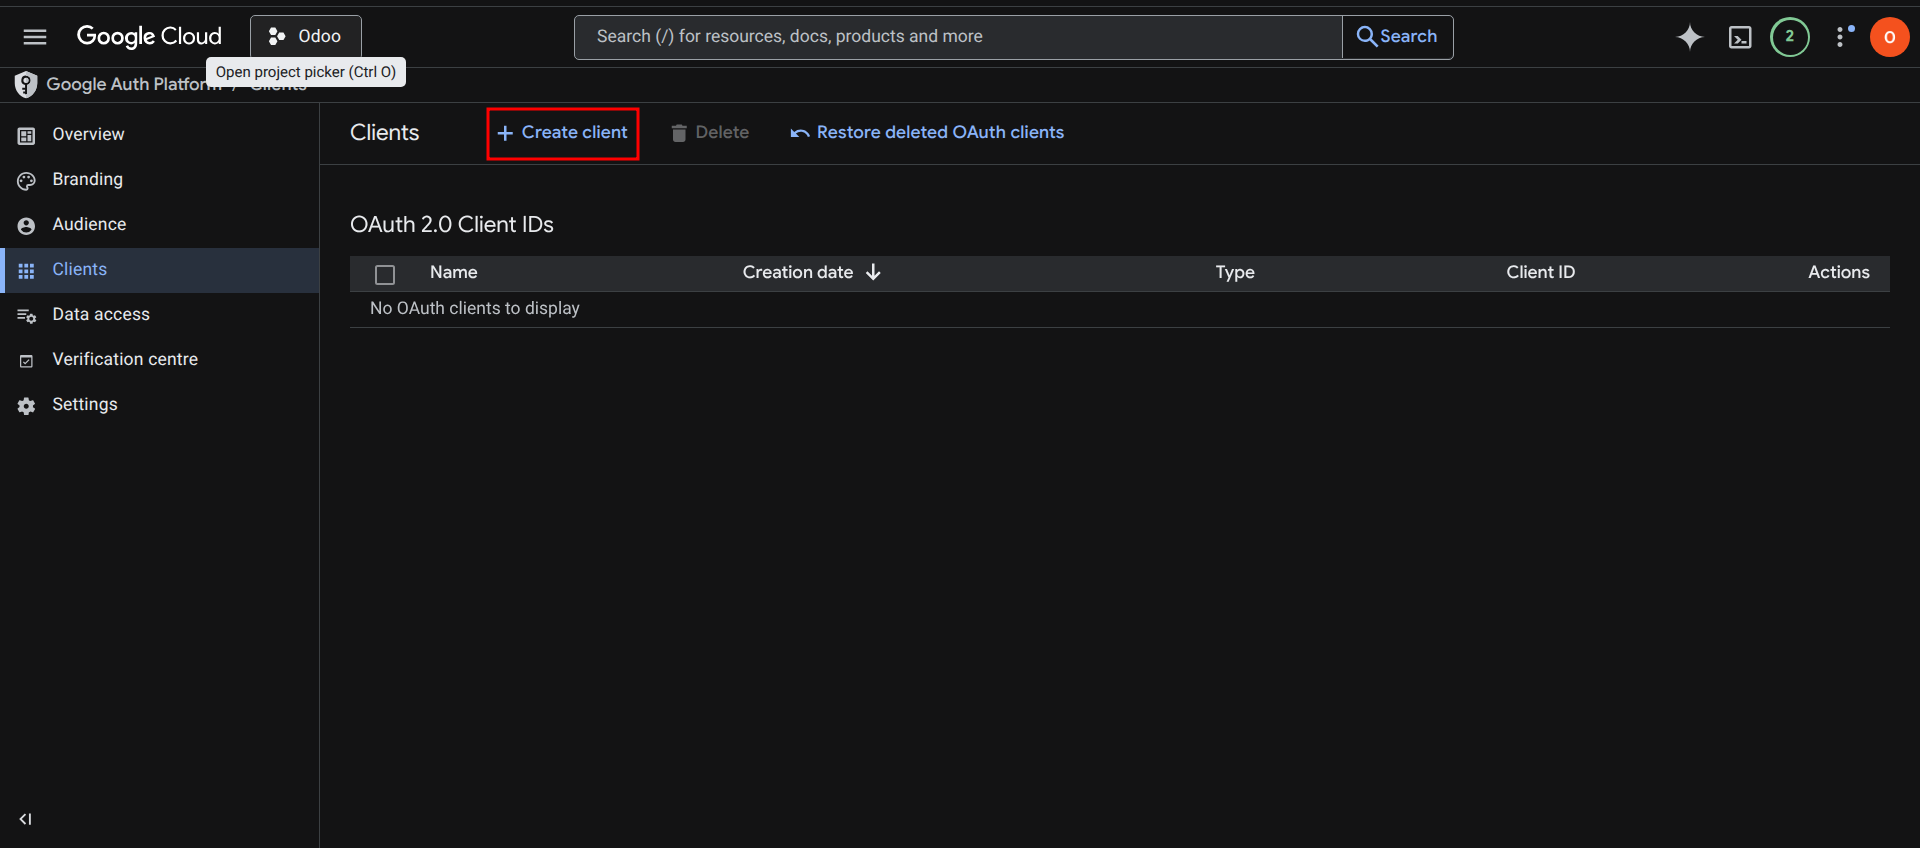
- Click Create Credentials and select OAuth client ID.
3. Configure Authorized Redirect URI
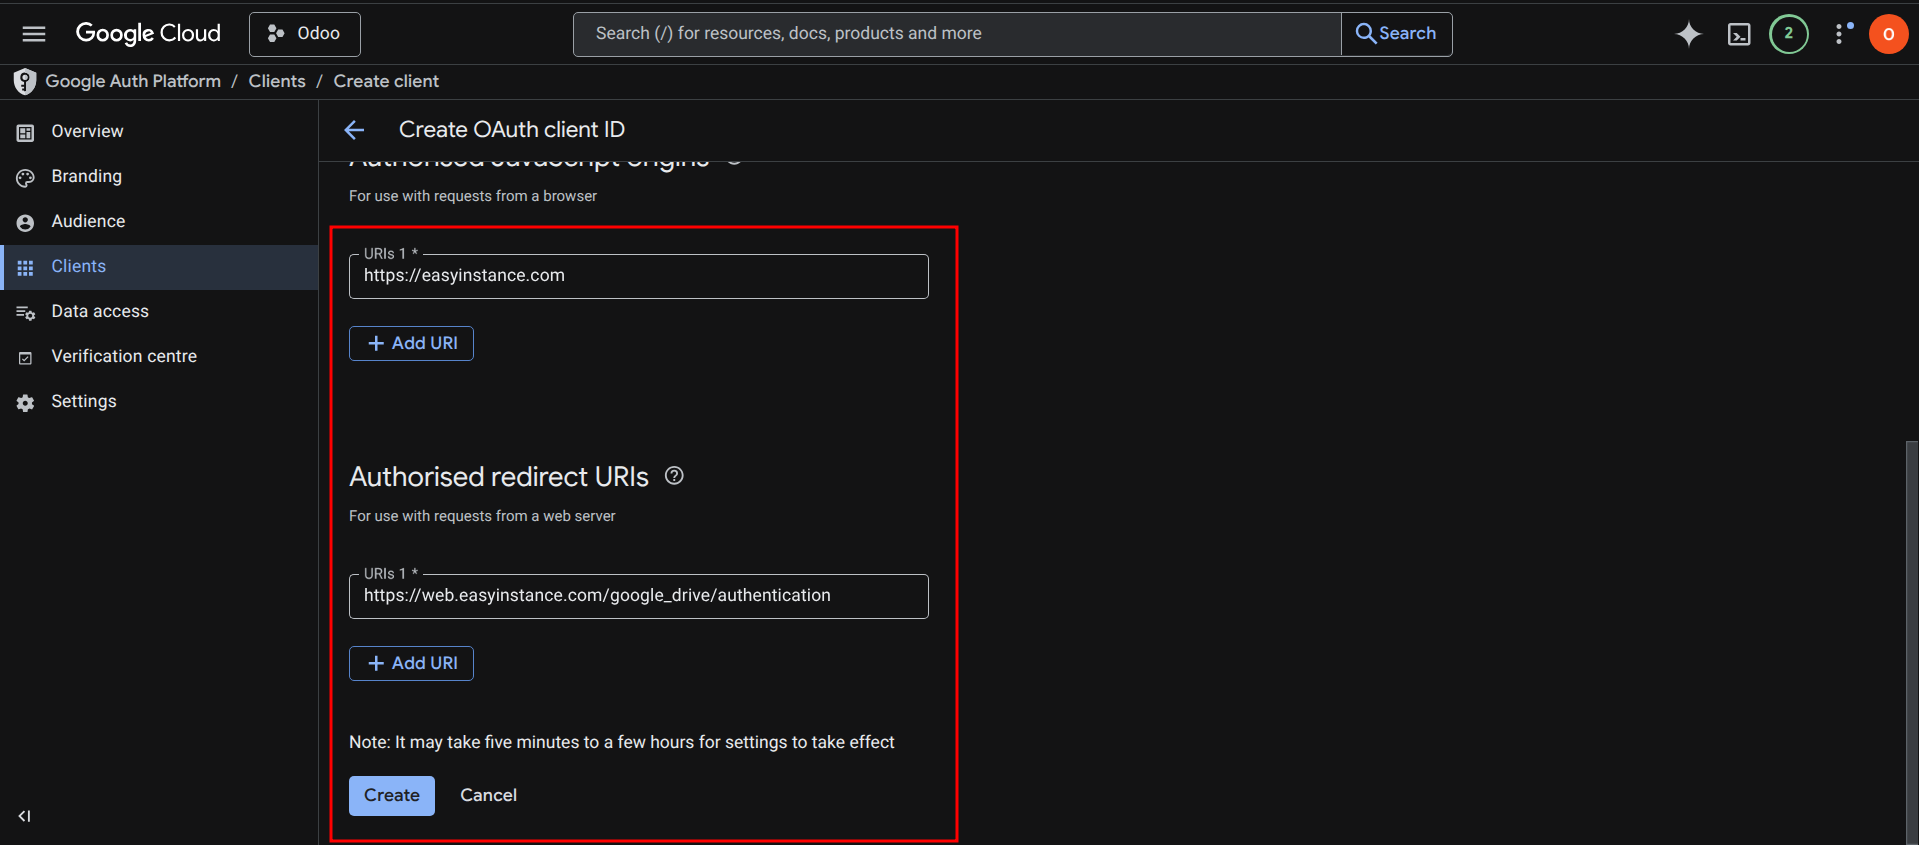
- Select Application Type as Web Application.
- Under Authorized JavaScript Origins, add URL of main page (e.g.,
https://easyinstance.com). - Under Authorized Redirect URIs, add the redirect url shown in the backup configuration page.
- Example:
https://web.easyinstance.com/google_drive/authentication
- Example:
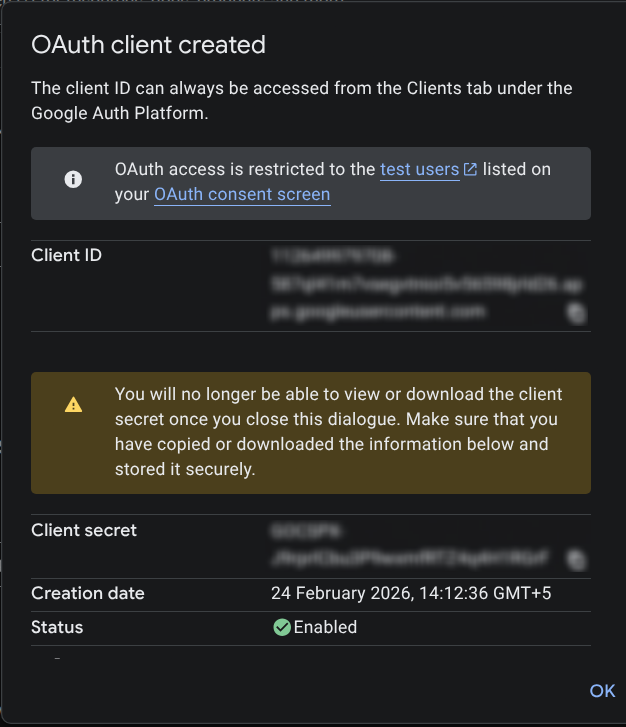
- Click Create. A dialog will appear showing your Client ID and Client Secret. Copy these credentials securely.
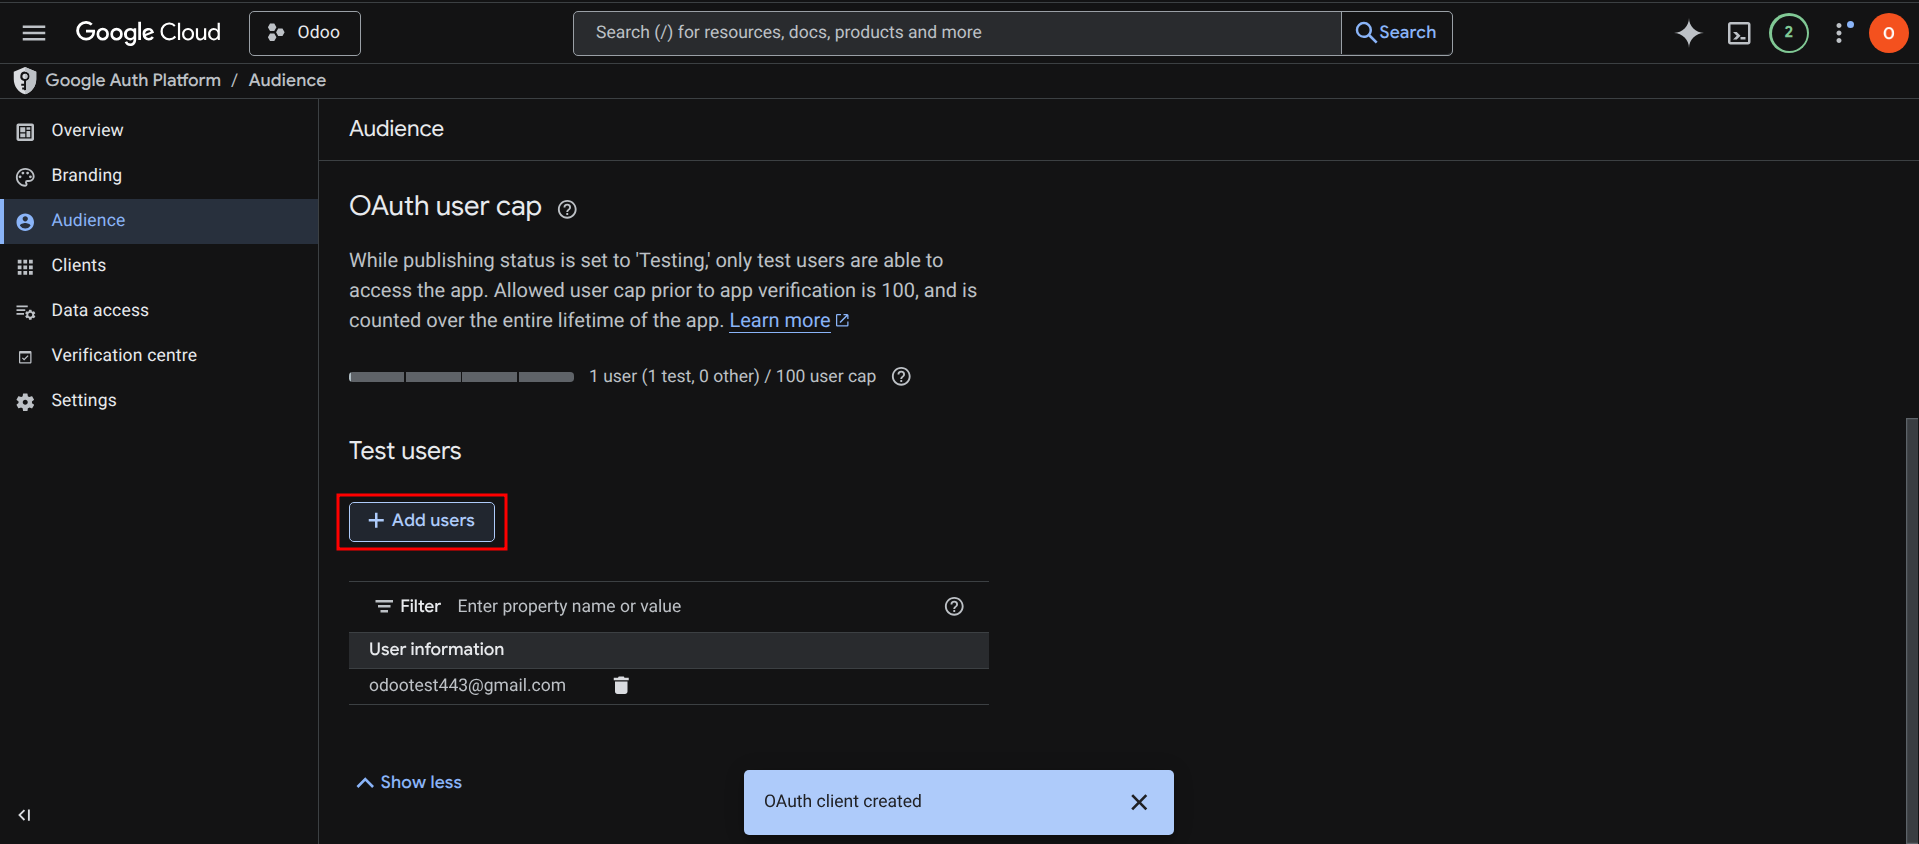
- Important: Go back to the OAuth consent screen. Under the Test users section, add the Gmail address you are currently logged in with to allow access to the application while it's in testing mode.
4. Configure Easy Instance Settings
Now, apply these credentials to your Odoo instance.
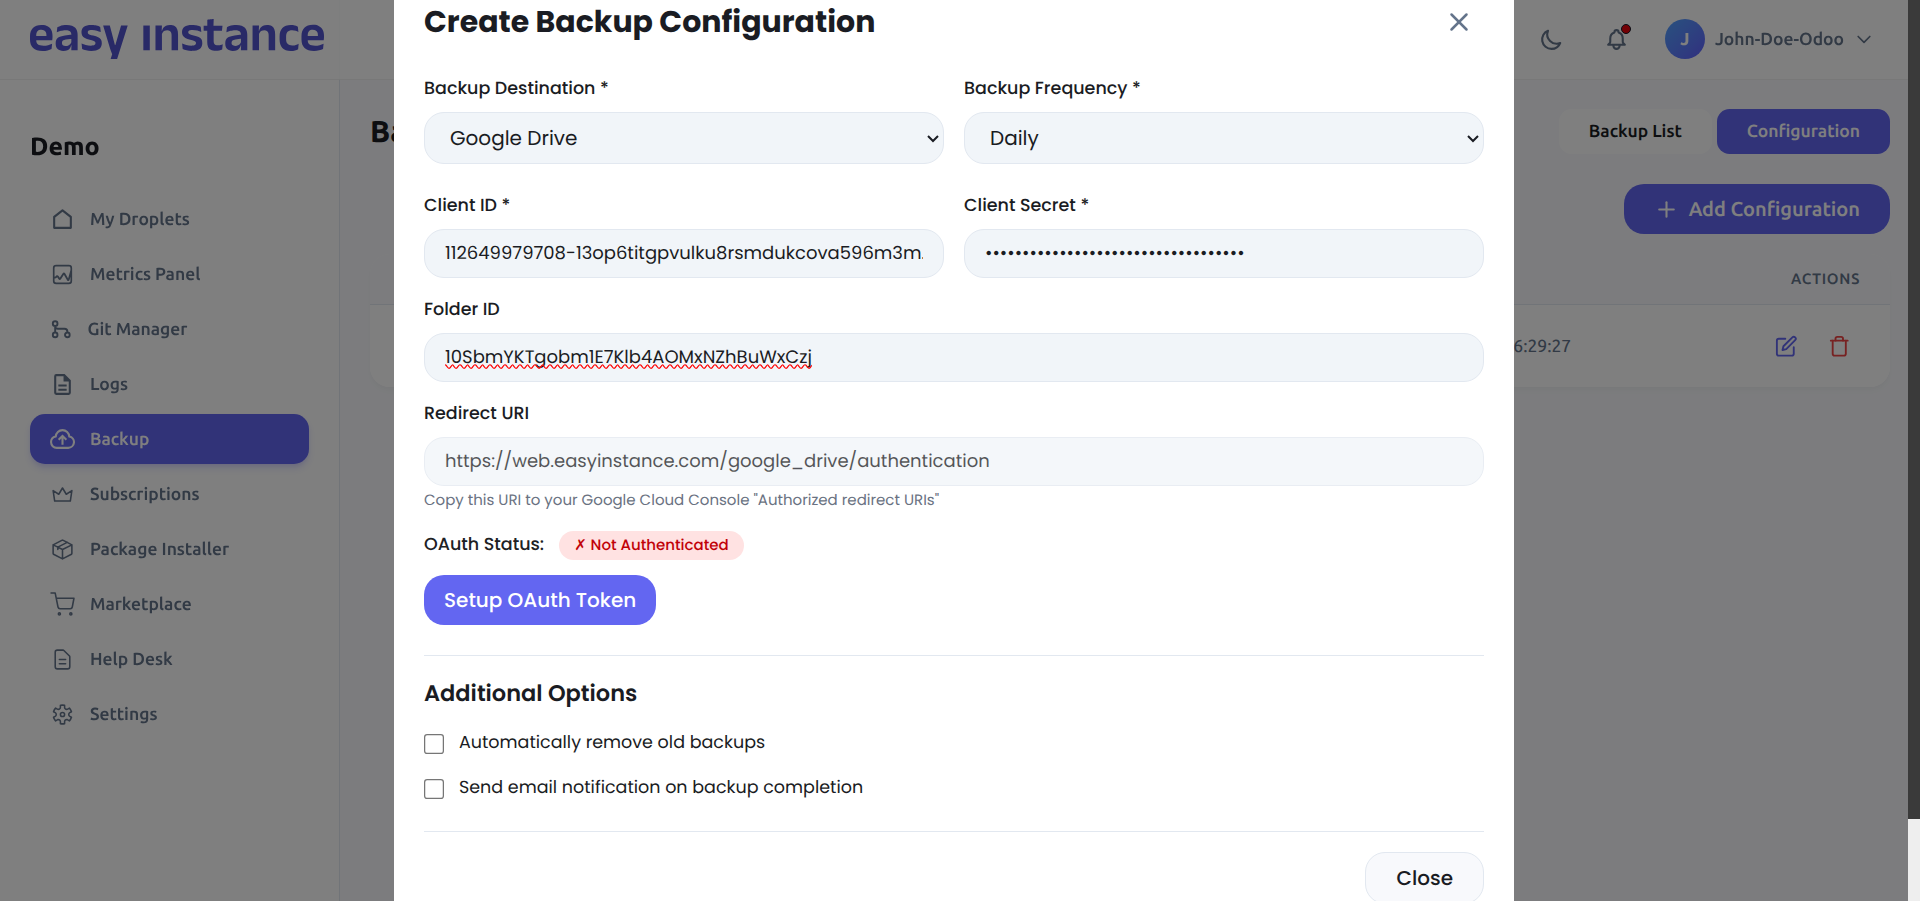
- Open your Odoo instance and navigate to the Backup Configuration.
- Enter the Client ID and Client Secret obtained in the previous step.
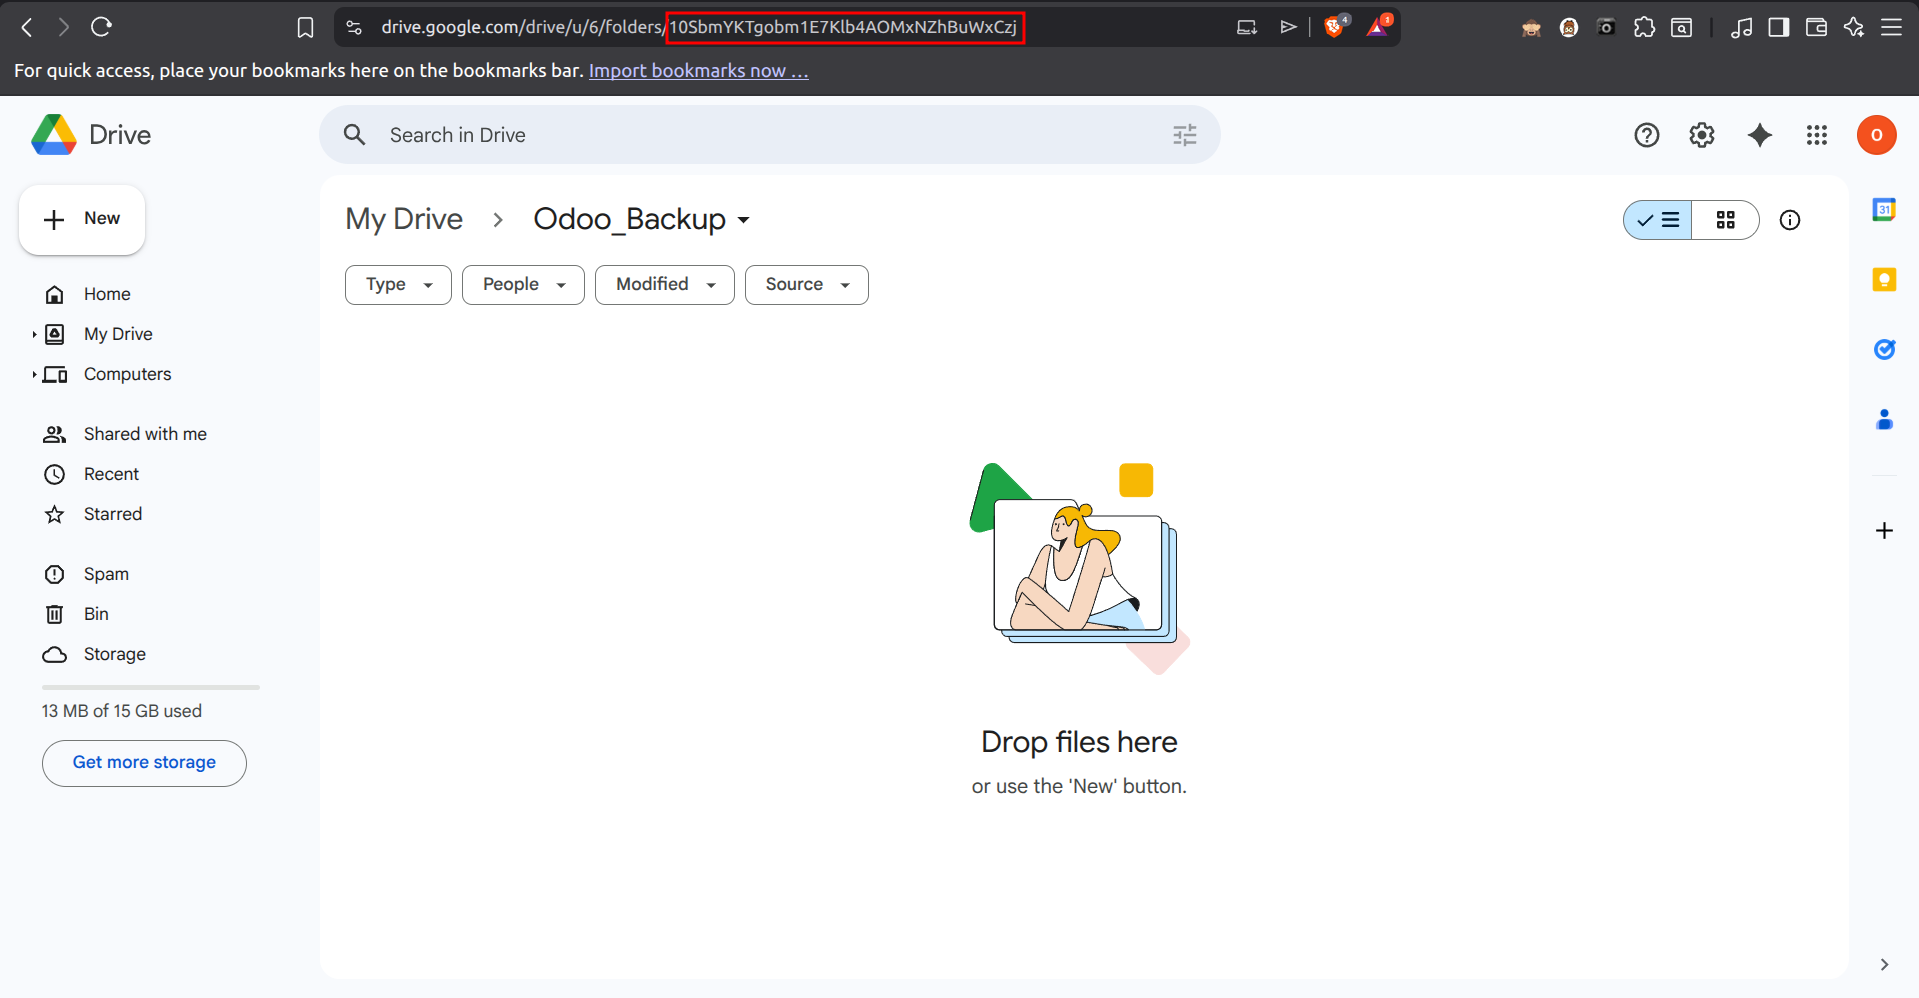
- Folder ID: Go to your Google Drive, open the folder where you want to store backups, and copy the ID from the URL (the string of characters after
folder/).
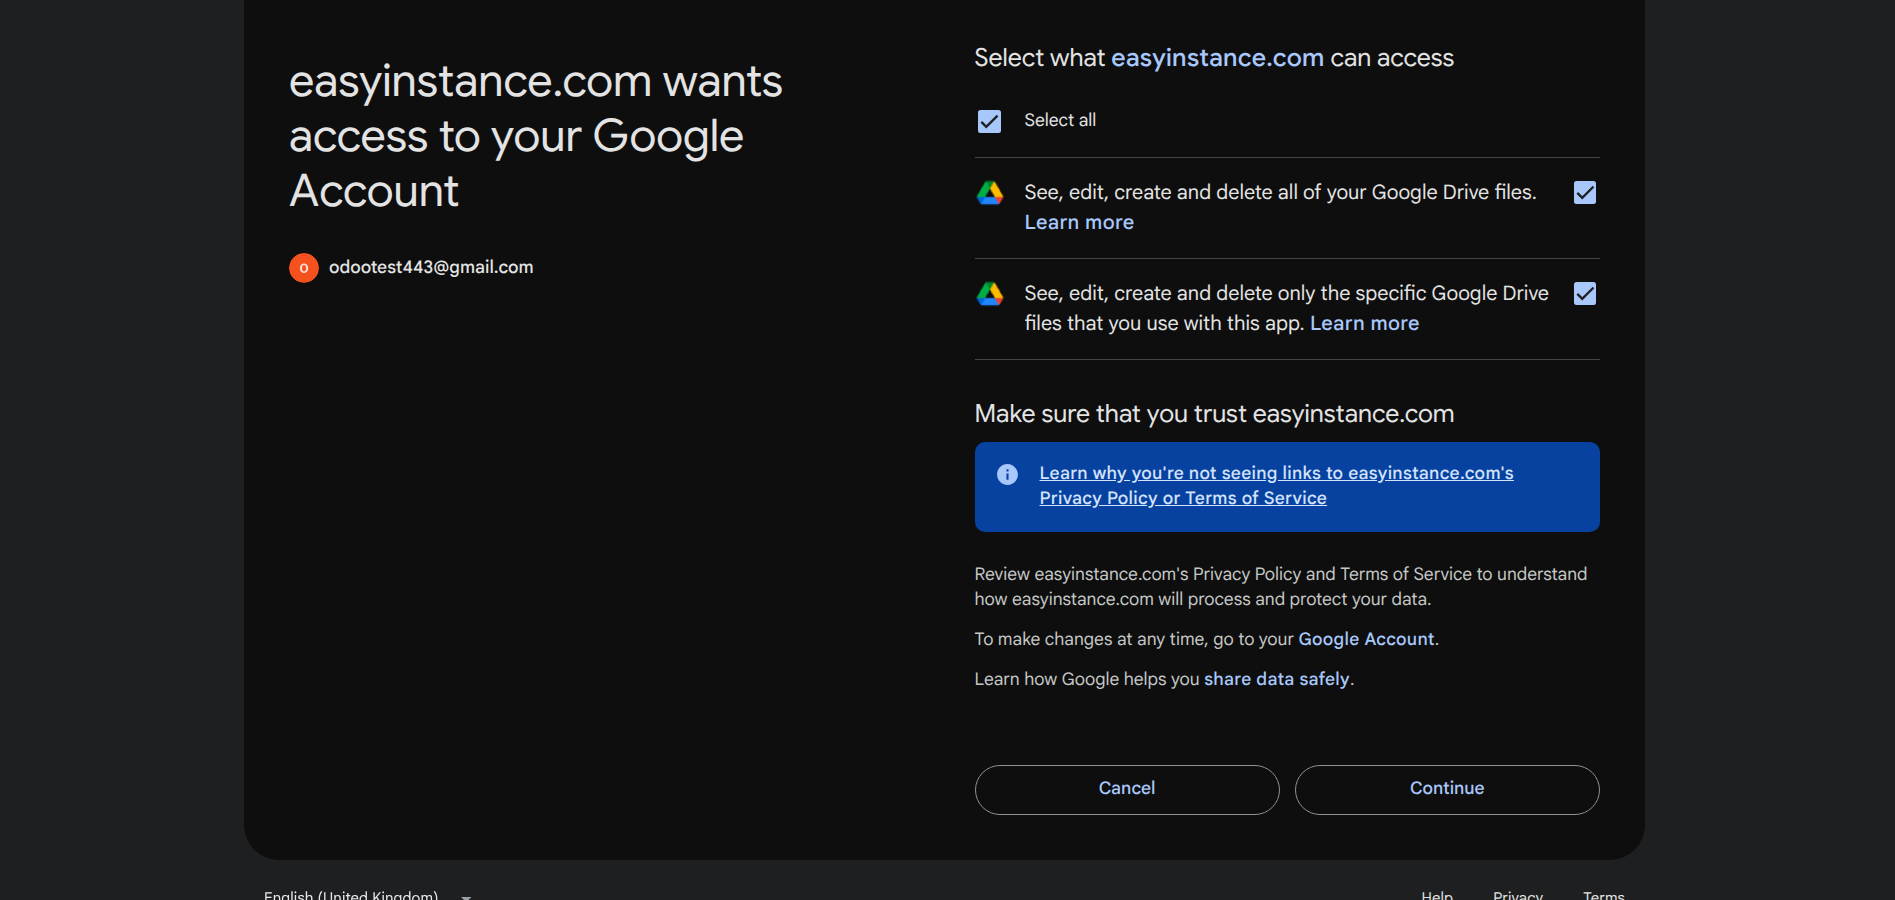
- Click Setup OAuth Token. You will be redirected to a Google authorization page.
- Grant the necessary permissions and click Continue.
- Once the token is generated successfully, your backups will be uploaded to Google Drive as per the defined schedule.
Manual Backup
If you want to trigger a backup immediately, you can use the Backup Now button.
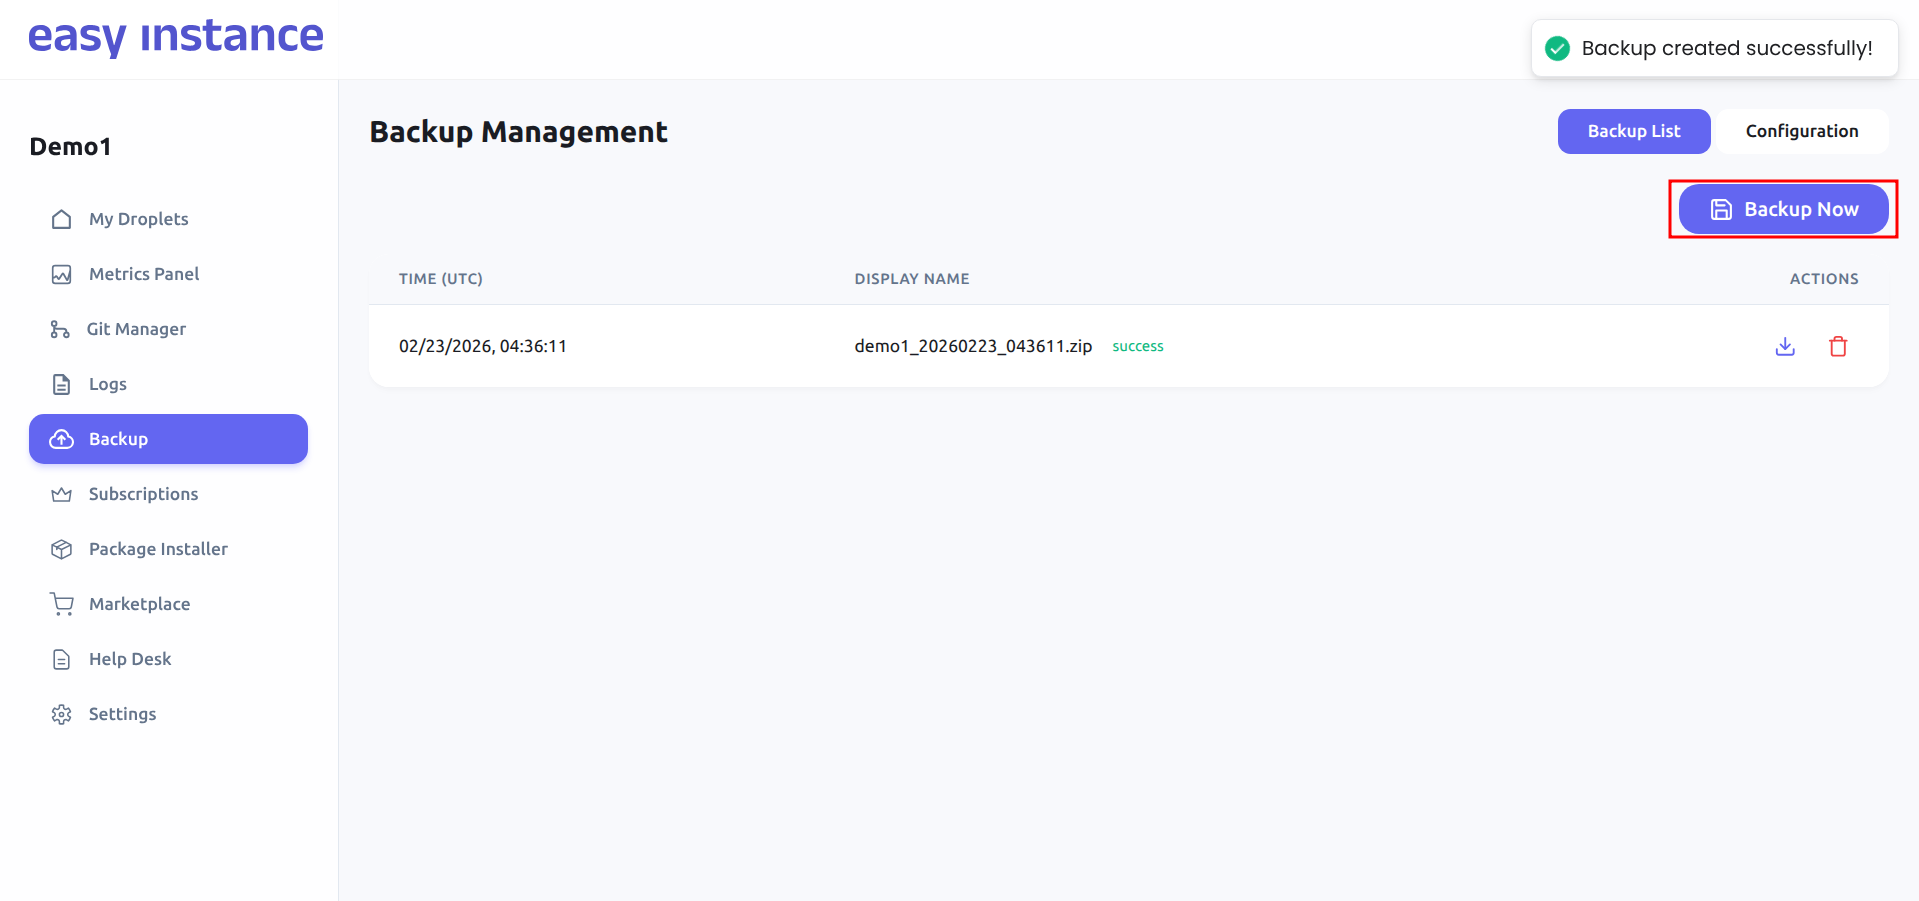
Tip: If you ever need to change accounts or update credentials, you can use the Reset Token button to refresh the authentication.