

Automatic Database Backup to Amazon S3
Protecting your Odoo data with a reliable cloud storage solution is a critical part of any deployment strategy. Easy Instance supports automated database backups directly to Amazon S3 — Amazon's industry-leading, scalable object storage service.
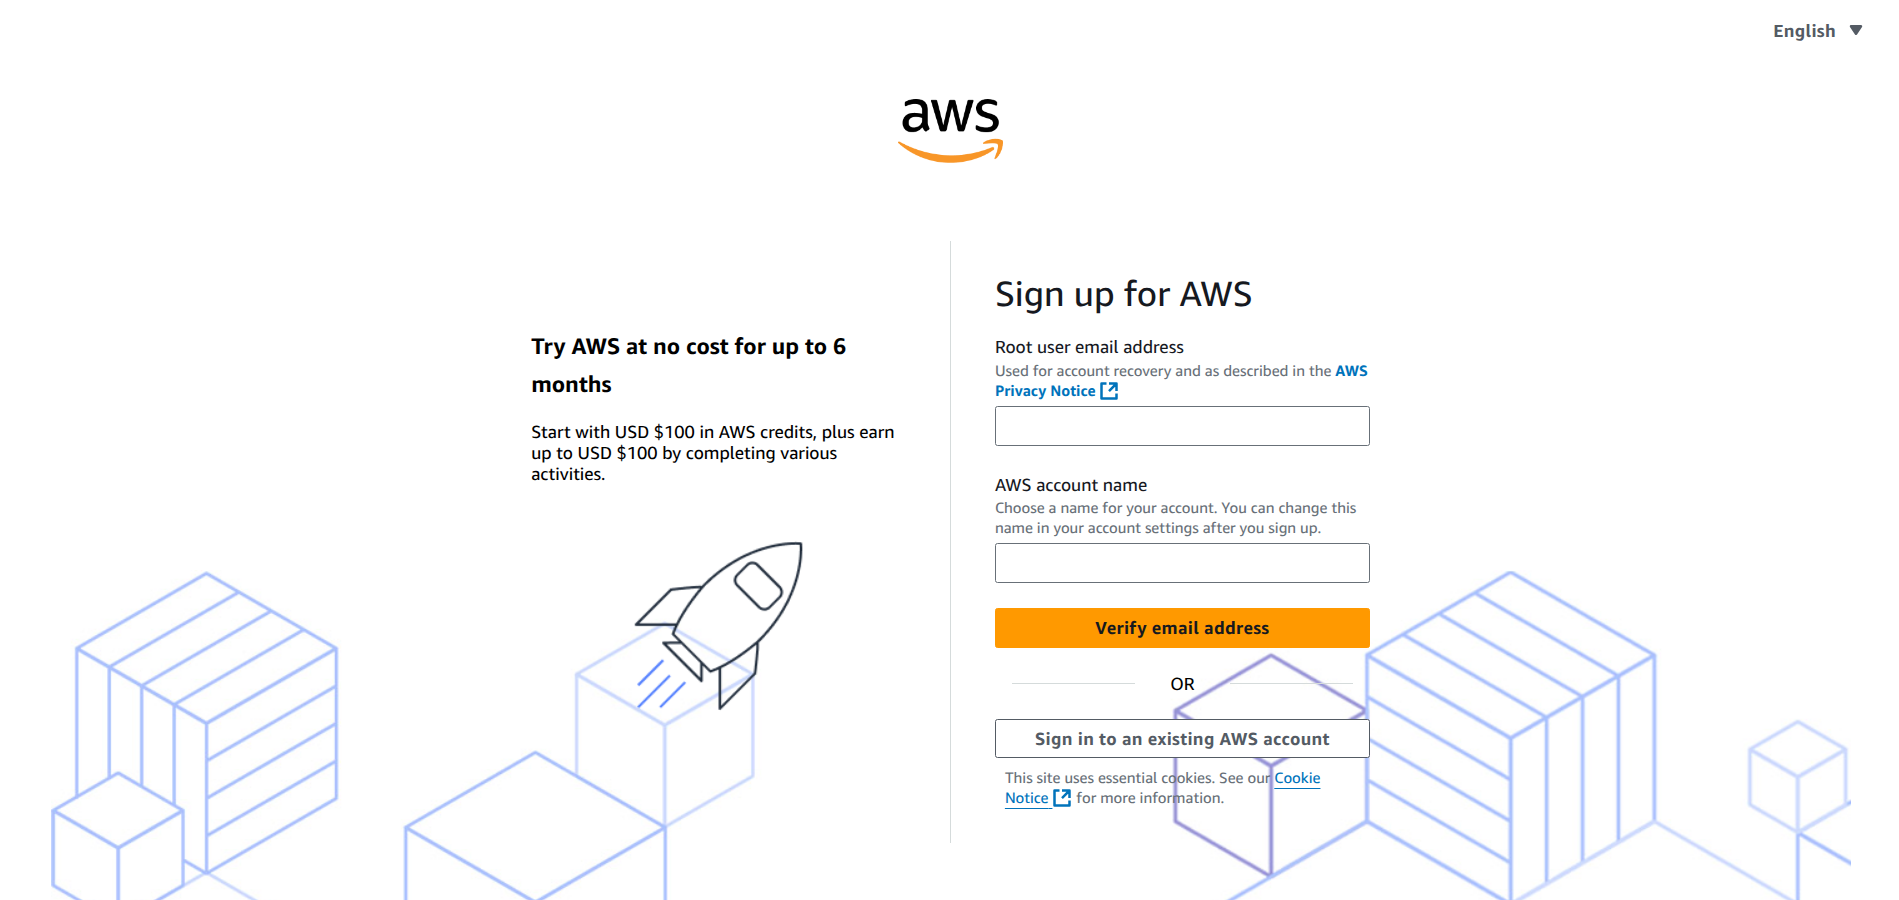
1. Create an Amazon S3 Account
If you don't already have an AWS account, start by signing up.
- Go to the Amazon S3 Sign-Up page and click Get Started with Amazon S3.
- Enter your email address and follow the on-screen instructions to complete the sign-up process.
2. Generate Access Keys
After creating your account, you need to generate the credentials Easy Instance will use to connect to S3.
- Log in to the AWS Management Console.
- Click on your account name in the top-right corner and select Security Credentials.
- Scroll down to the Access Keys section and click Create access key.
- Copy the Access Key and Secret Access Key — you will need these in the configuration step.
Important: Store your Secret Access Key securely. It will only be shown once.

3. Create an S3 Bucket
A bucket is the container where your backup files will be stored.
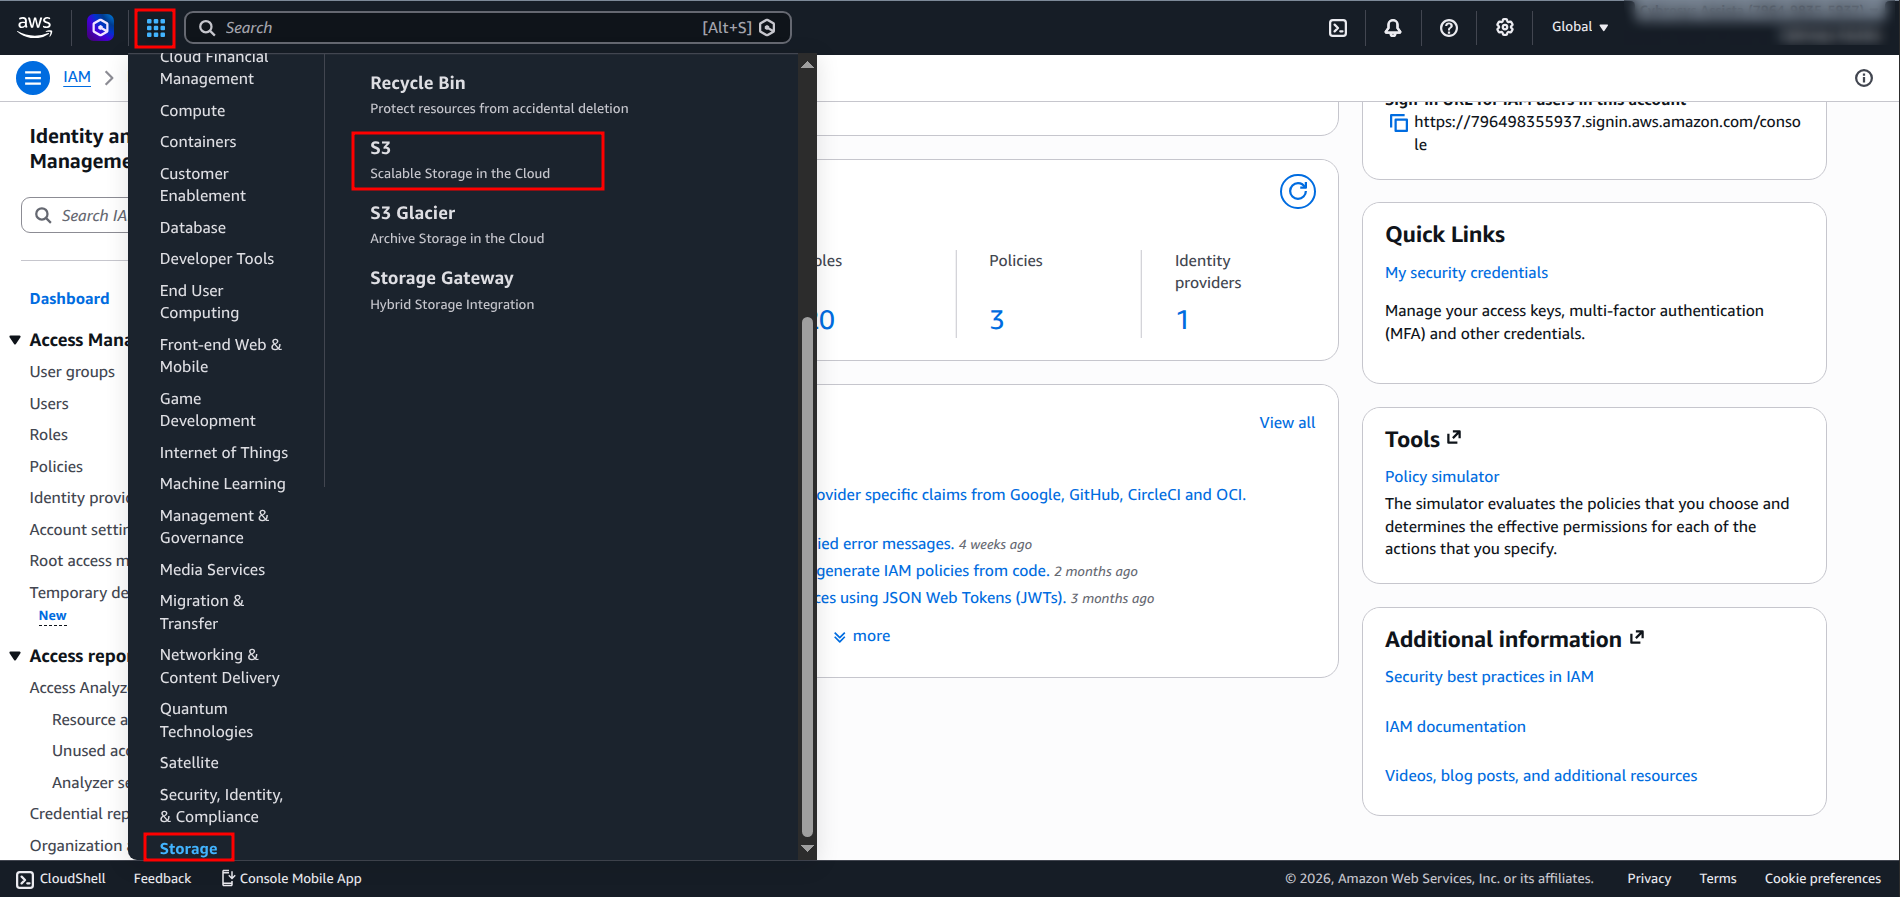
- In the AWS Management Console, click on Services.
- Navigate to Storage → S3.
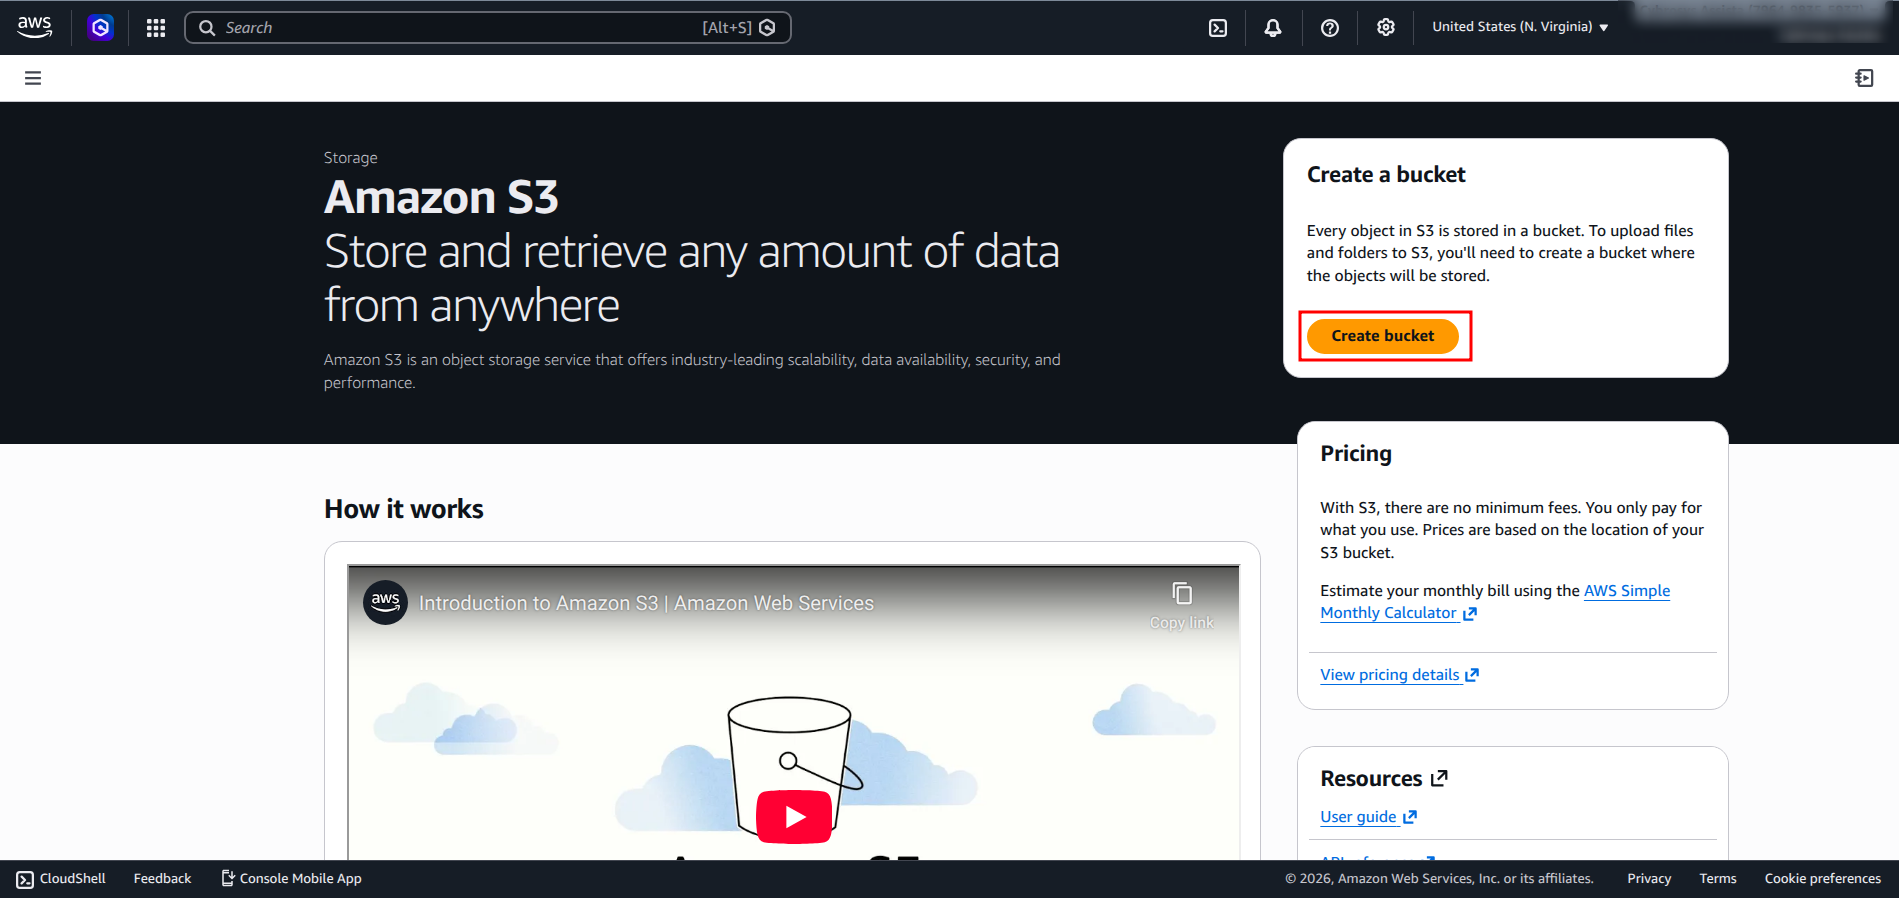
- Click Create Bucket.
- Enter a unique Bucket Name (follow AWS naming rules — lowercase letters, numbers, and hyphens only).
- Select your preferred Region.
- Click Create Bucket to complete the setup.
4. Configure Easy Instance Backup Settings & Test the Connection
Now apply your AWS credentials to the backup configuration in your Easy Instance dashboard.
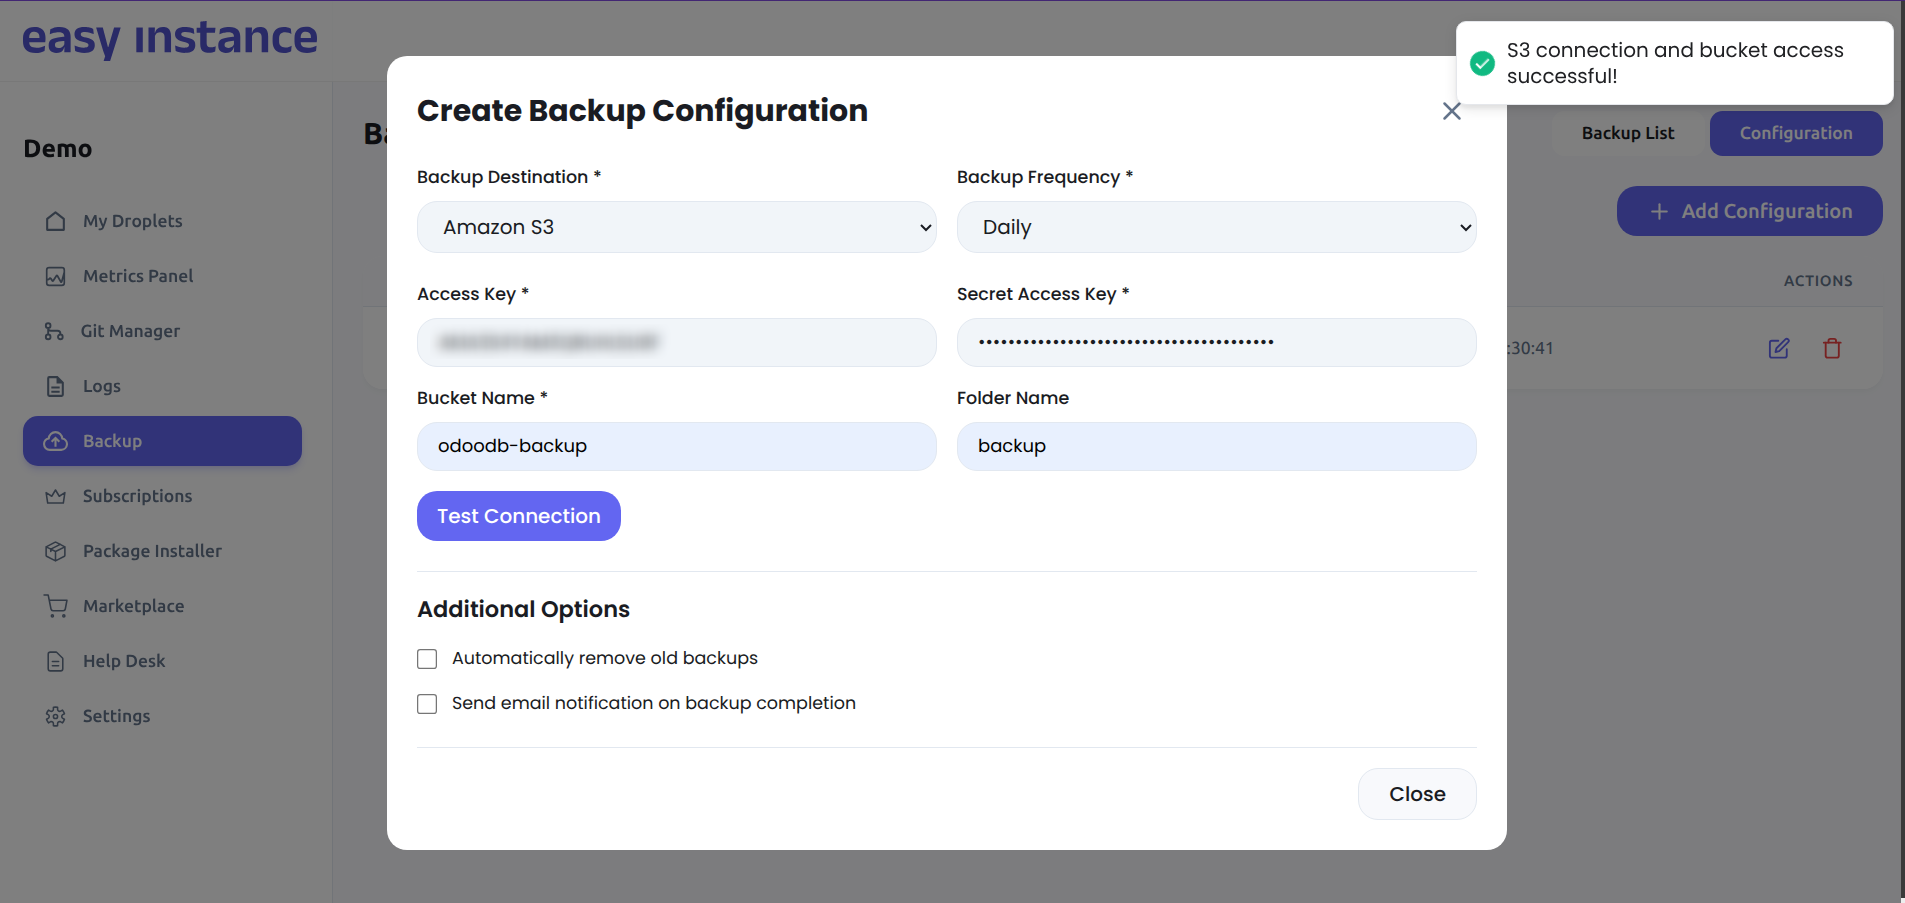
- Navigate to the Backup Configuration section in your Easy Instance dashboard.
- Select Amazon S3 as the backup destination.
- Enter the following details:
- Amazon S3 Access Key: The access key generated in Step 2.
- Amazon S3 Secret Key: The secret key generated in Step 2.
- Bucket Name: The name of the bucket created in Step 3.
- File Name: The folder name inside the bucket where backup files will be stored.
- Click the Test Connection button to verify that Easy Instance can communicate with your S3 bucket.
- A success message will confirm that the credentials and bucket are correctly configured.
Note: If the connection test fails, verify that the Access Key, Secret Key, and Bucket Name are correct, and that your AWS IAM user has the necessary S3 permissions (
s3:PutObject,s3:GetObject,s3:ListBucket).
5. Verify Backups
Once configured, backups will be automatically uploaded to your S3 bucket according to the backup schedule.
- You can monitor the status of your backups in the Backup List on the dashboard.
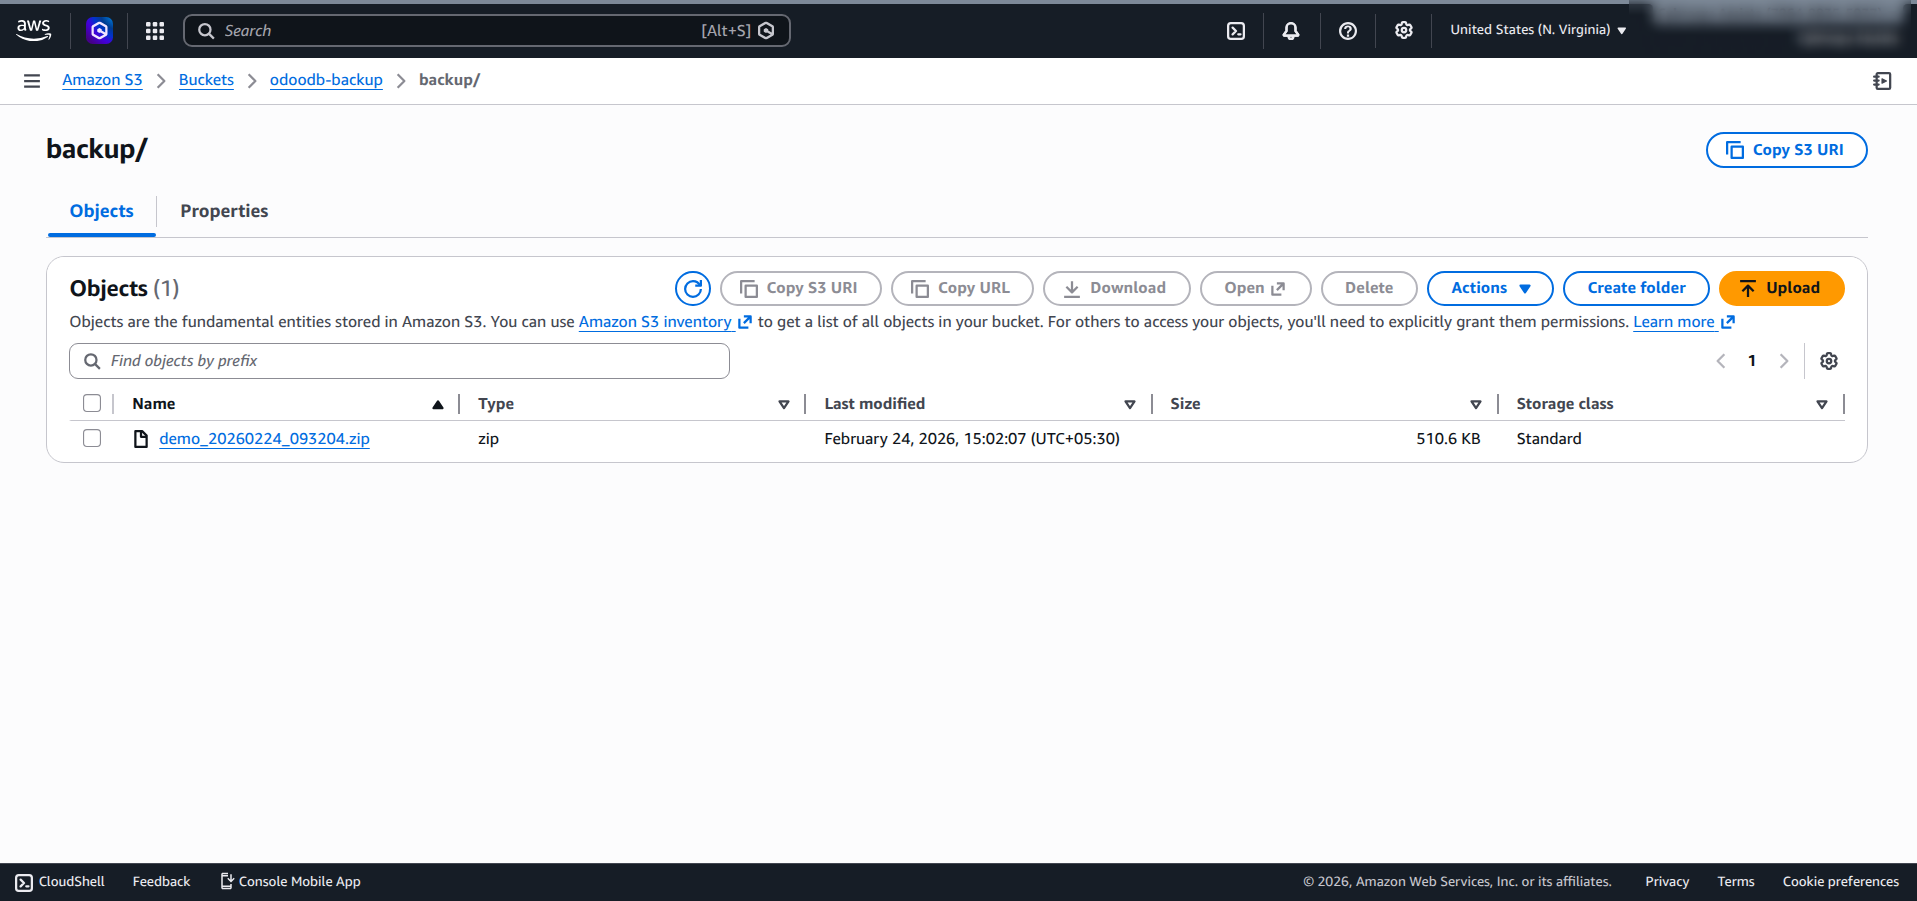
- Log in to your AWS Console, navigate to your S3 bucket, and check the specified folder to confirm the backup files are present.
Tip: Use the Backup Now button to trigger a manual backup immediately and verify the S3 connection is working correctly.