Configuration Guide
Effective configuration of Assista IDE is required to standardize the Odoo development workflow. This guide details the procedures for session authentication, source acquisition, environment isolation (venv), and debugger integration.
Session Authentication
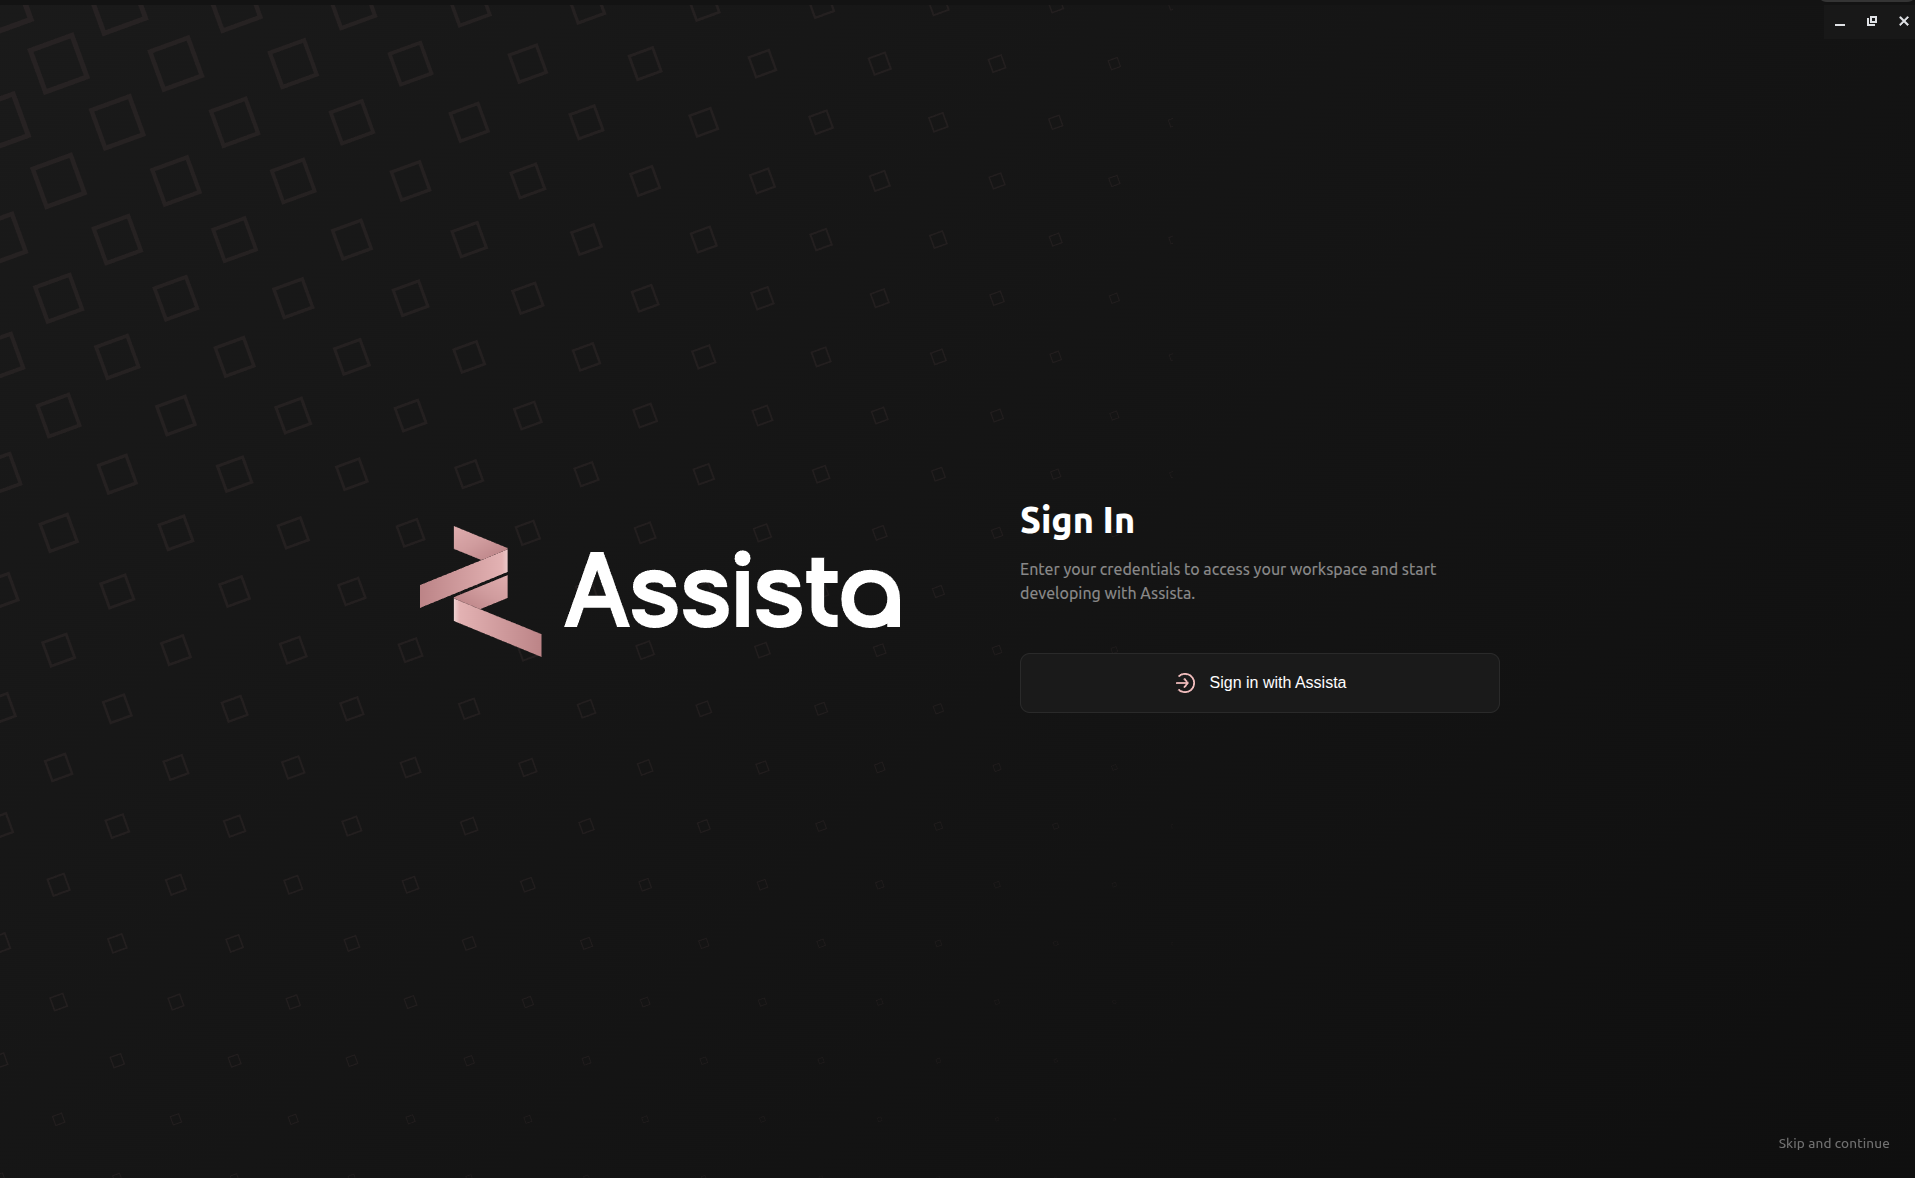
Upon initialization, Assista IDE requires a secure login via the Sign In utility. This redirects to the Assista portal to authenticate your workspace and enable specialized features.
- Authenticated Features: Access to Assista Coder (AI Agent) and Port Forwarding remains restricted to logged-in sessions.
Environment Initialization
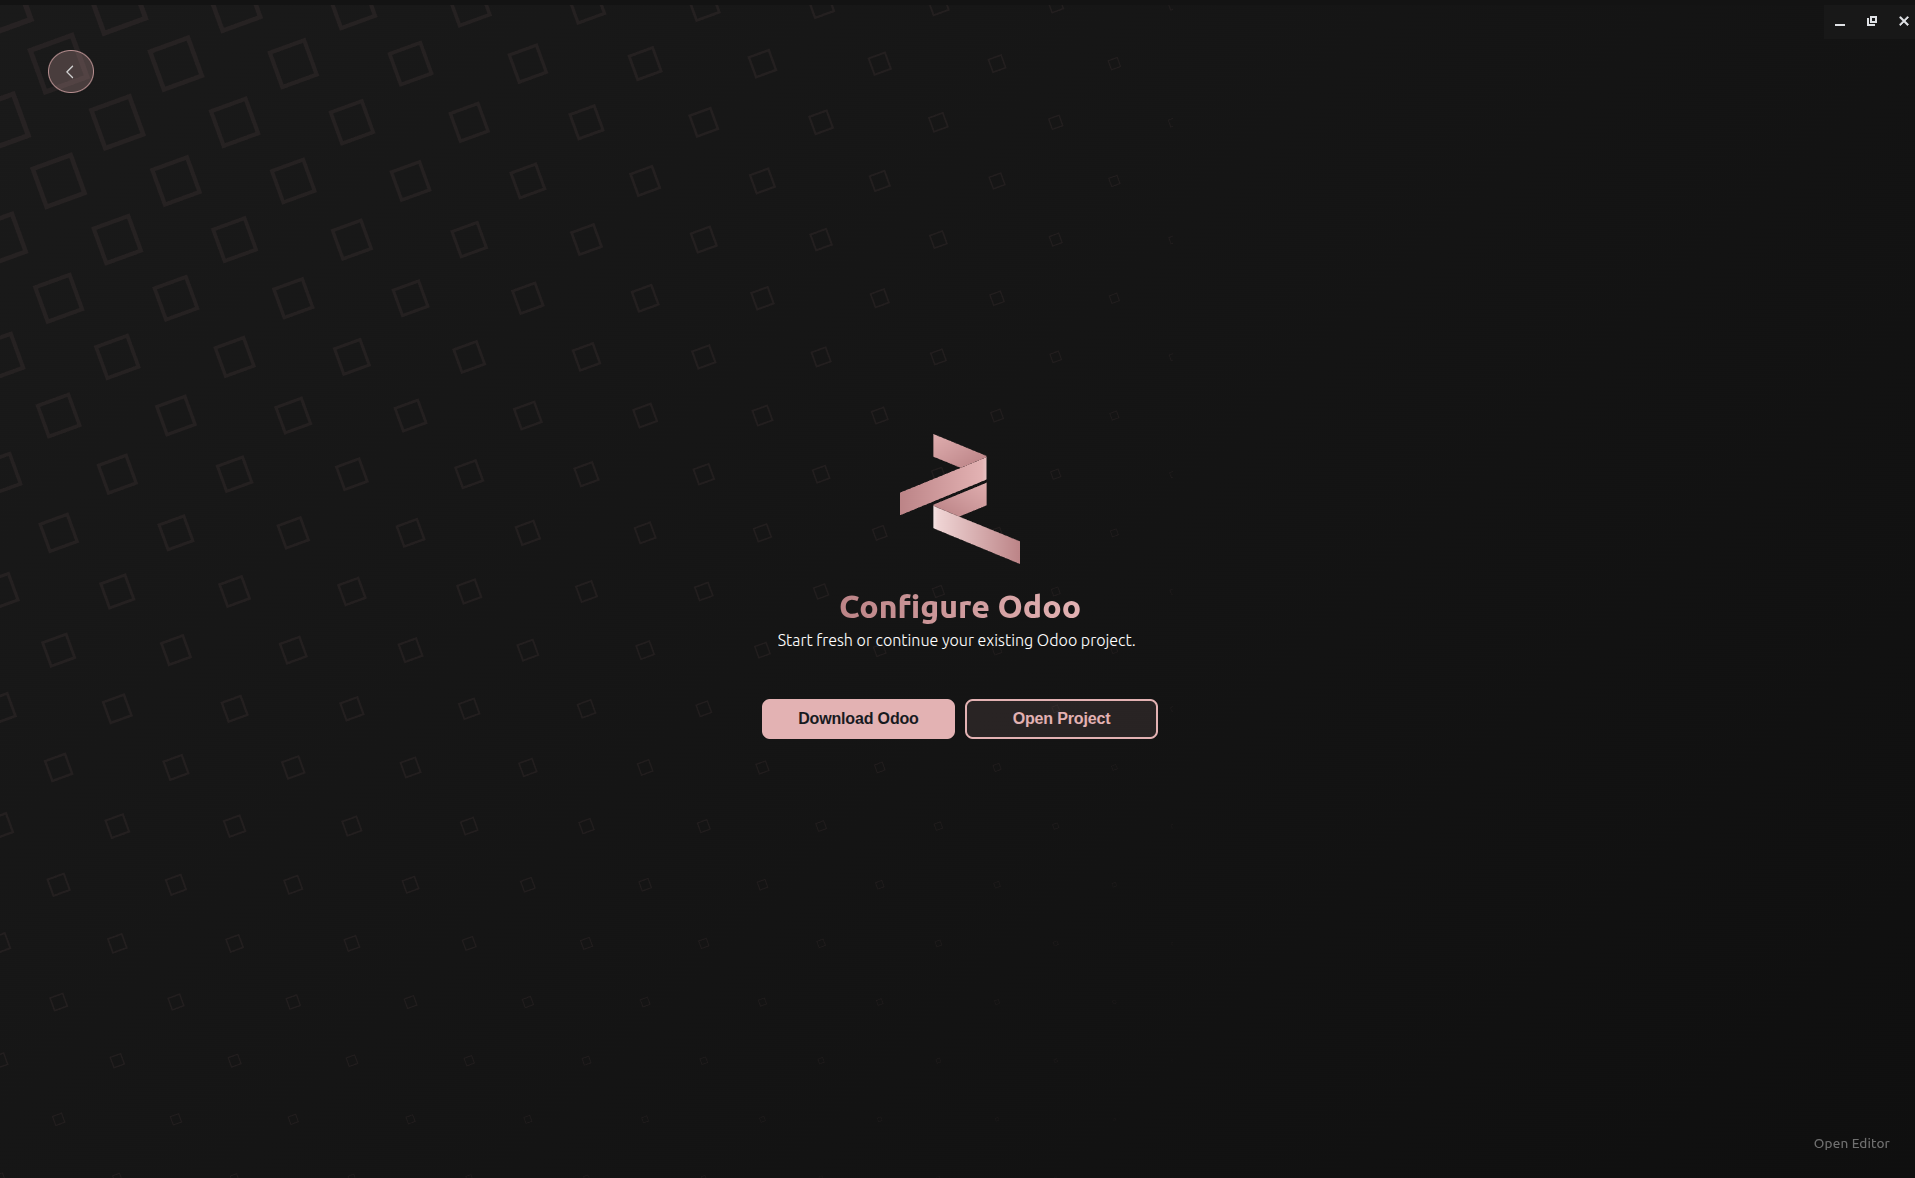
After authentication, select a project initialization method:
- Open Existing Project: Mount an existing Odoo directory into the workspace.
- Download Odoo: Automatically clones the Odoo core repository from GitHub based on version selection.
Automated Source Acquisition
When using the Download Odoo utility:
- Version Selection: Specify the Odoo version (e.g.,
18.0,17.0). - Directory Mapping: Define the parent directory for the project.
- Auto-Structuring: The IDE creates a versioned subdirectory (e.g.,
/your-path/odoo18) to house the codebase.
Git Dependency
Source acquisition requires Git to be configured on the host system. The utility is disabled if Git is not detected during initialization.
Server Configuration (odoo.conf)
The IDE uses a graphical configuration editor to generate or manage the Odoo runtime settings file.
- Primary Parameters:
- PostgreSQL Credentials: Username and password for database connectivity.
- Port Mapping: XML-RPC port assignment (default:
8069). - Addons Paths: Directory mapping for custom modules. Core Odoo paths are managed automatically.
- Database Name: Default target database for the session.
Technical Automation
Assista IDE handles the population of standard system parameters. For existing projects, selecting Update Existing allows the IDE to synchronize existing .conf files with its internal management engine.
PostgreSQL Lifecycle Management
Assista IDE provides configuration instructions but does not manage the installation of the PostgreSQL server.
- Manual Setup Instructions: Integrated guidance for creating Odoo-specific DB roles is available within the configuration interface.
- Role Permissions: Odoo requires a PostgreSQL user with
CREATEDBandSUPERUSERprivileges for full functionality during development.
- Verify Installationbash
psql --version - Assign Odoo Role (Replace
odoo18with target user):bashsudo su - postgres createuser --createdb --username postgres --no-createrole --no-superuser --pwprompt odoo18 psql -c "ALTER USER odoo18 WITH SUPERUSER;" exit
Development Environment Isolation (venv)
Assista IDE manages Python environment isolation to prevent dependency conflicts across different Odoo versions.
- Version Mapping: Select the target Odoo version and define the
venvdirectory. - Interpreter Assignment: Map the workspace to a compatible system Python interpreter.
- Automated Package Management: The IDE executes
pip installfor all requirements defined in the Odoo source.
Compatibility Warning
Selecting a Python interpreter incompatible with the Odoo release (e.g., Python 3.8 for Odoo 18.0) will generate a warning. In these cases, the venv is created, but automated package installation is bypassed to prevent build failure.
Support Matrix
The following matrix defines the officially supported Odoo and Python version combinations:
| Odoo Version | Supported Python Versions |
|---|---|
| Odoo 19.0 | Python 3.13, 3.12, 3.10 |
| Odoo 18.0 | Python 3.12, 3.10 |
| Odoo 17.0 | Python 3.12, 3.10 |
| Odoo 16.0 | Python 3.12, 3.10, 3.8 |
| Odoo 15.0 - 12.0 | Python 3.10, 3.8 |
Debugger Integration
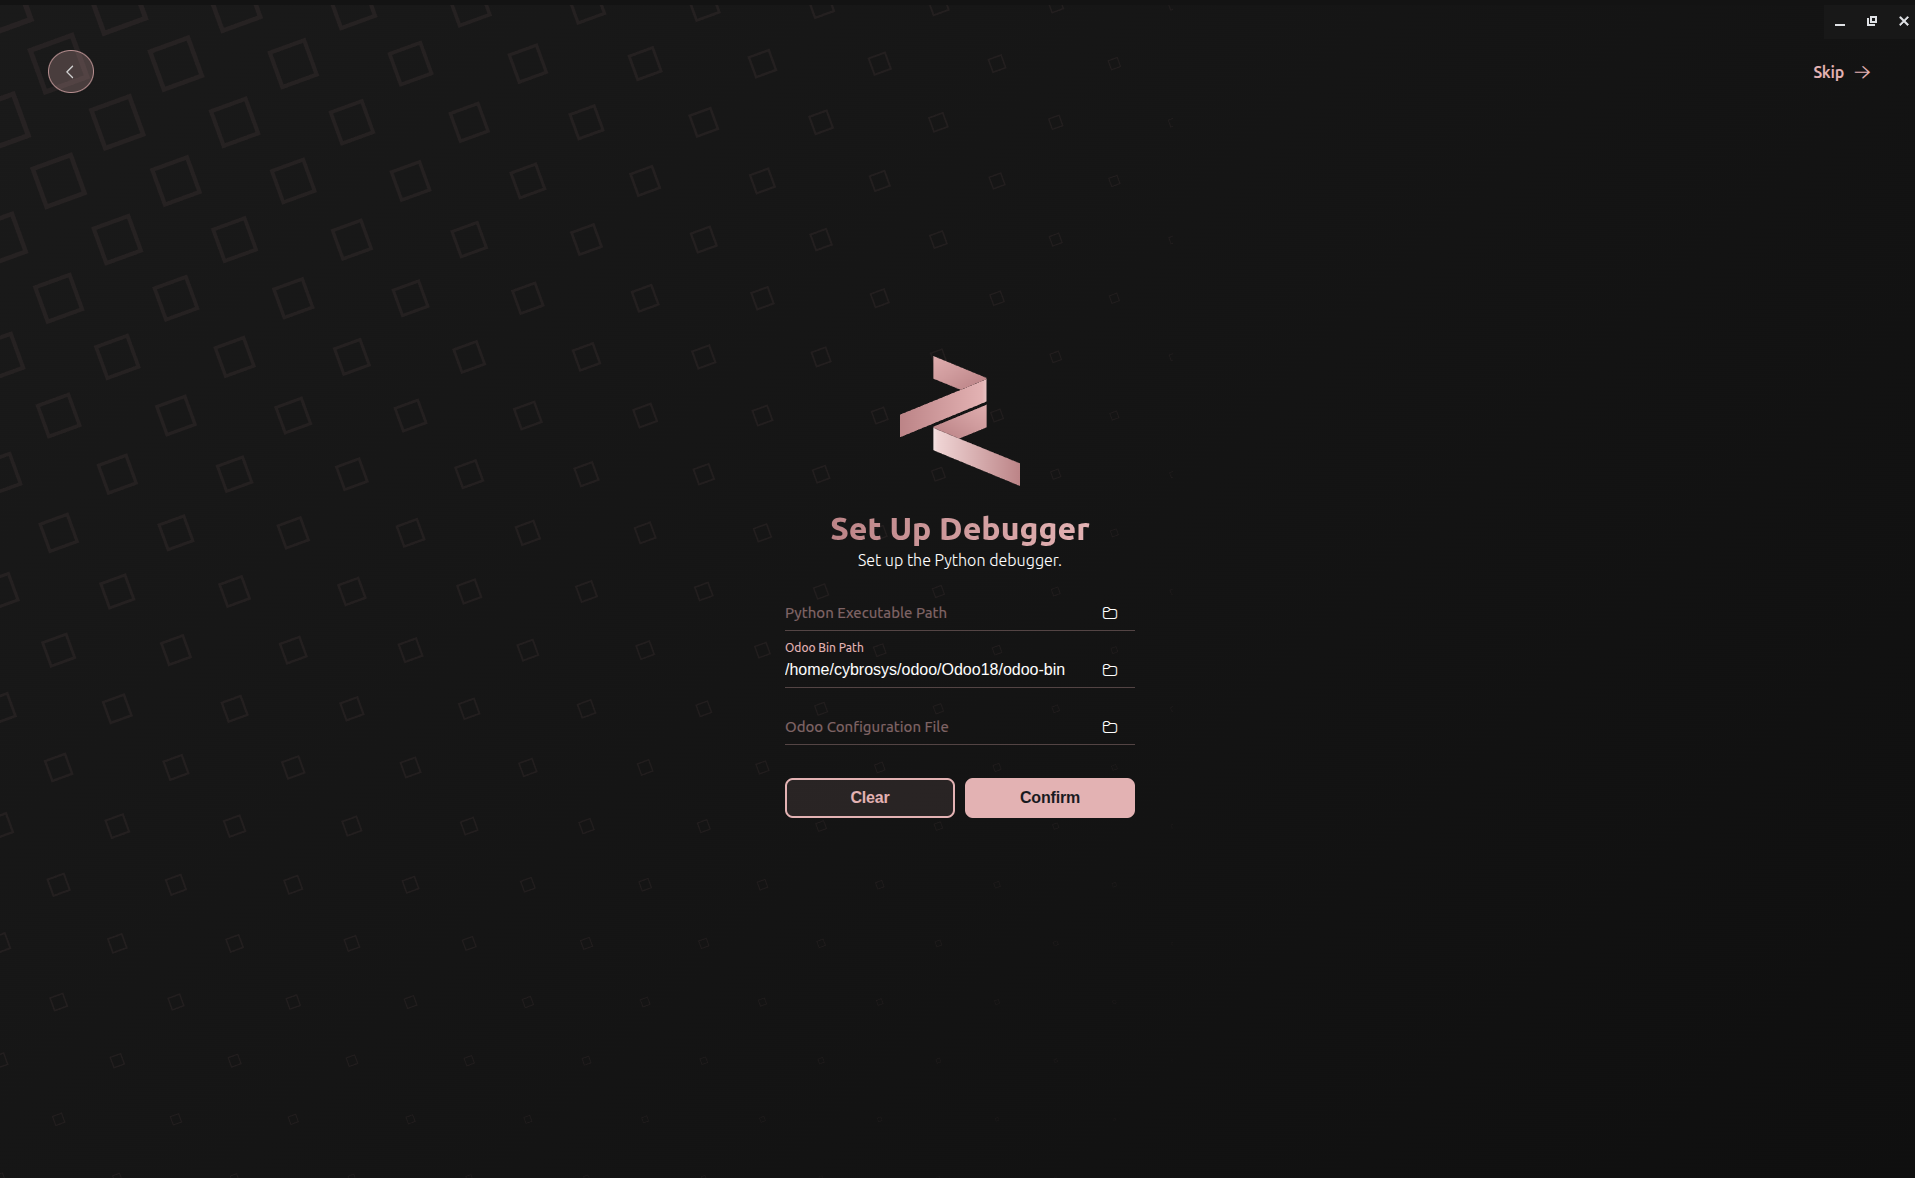
The IDE automates the generation of launch.json for debugging via a guided path-mapping utility.
- Required Mapping:
- Python Executable: Path to the interpreter in the local
venv. - Odoo Bin: Path to the
odoo-binsource executable. - Odoo Config: Path to the active
odoo.conf.
- Python Executable: Path to the interpreter in the local
- Integrated Resolution: The IDE predicts these paths based on initialization data, allowing for
launch.jsongeneration before the filesystem objects are fully created.
Implementation & Workspace Launch
The final initialization stage executes the configuration stack in the background:
- Venv Build: Construction of the isolated environment and dependency acquisition.
- Config Generation: Writing the
odoo.confandlaunch.jsonfilesystem objects. - Workspace Mounting: Automatic initialization of the editor interface with the configured project.
For hardware specifications and operating system compatibility, refer to the Technical Prerequisites.