Getting Started with Assista X Chat: Step-by-Step Odoo Integration Guide
Welcome to Assista X Chat—your gateway to instant, conversational access to Odoo business data using advanced AI.
This guide walks you through the essential first-time setup: connecting your AI model and Odoo database in just minutes.
1. Navigate to the Assista X Chat Portal
- Open your web browser and go to the official portal:
https://assistaxchat.cybrosys.com/
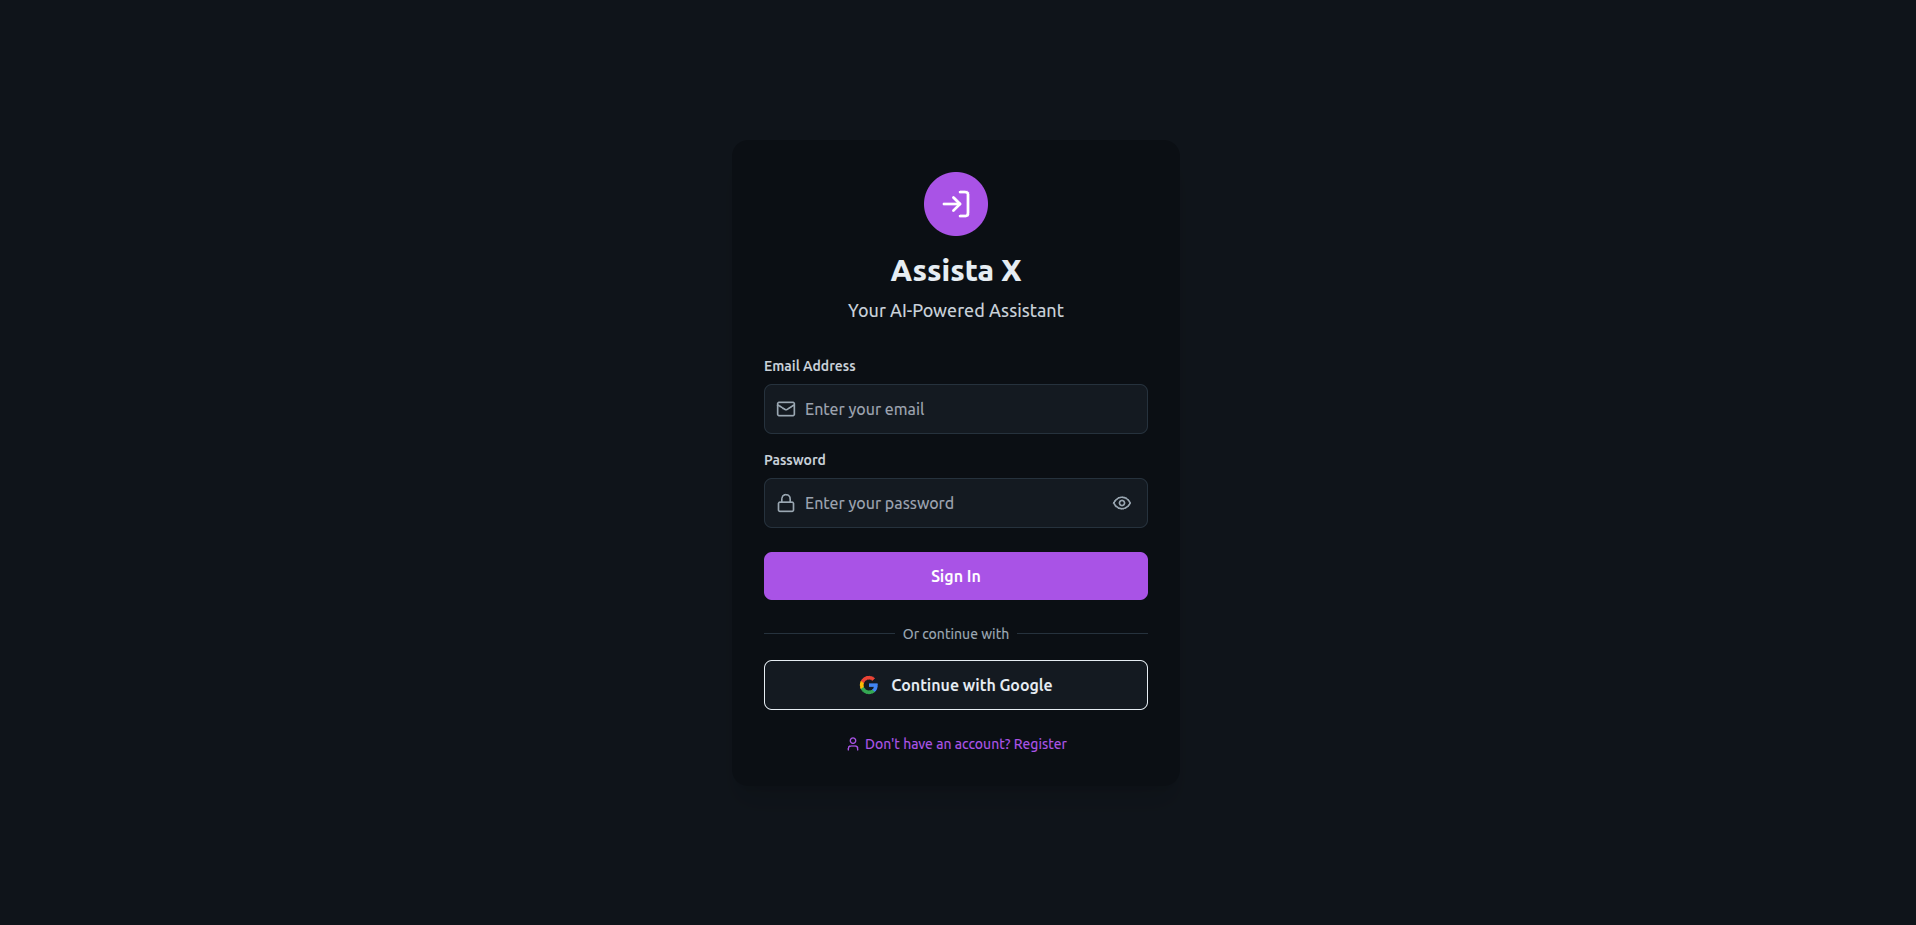
2. Sign Up and Access Your Workspace
- Click Sign Up to create your account.
- Follow on-screen prompts to set up your personal Assista X Chat workspace for Odoo conversations.
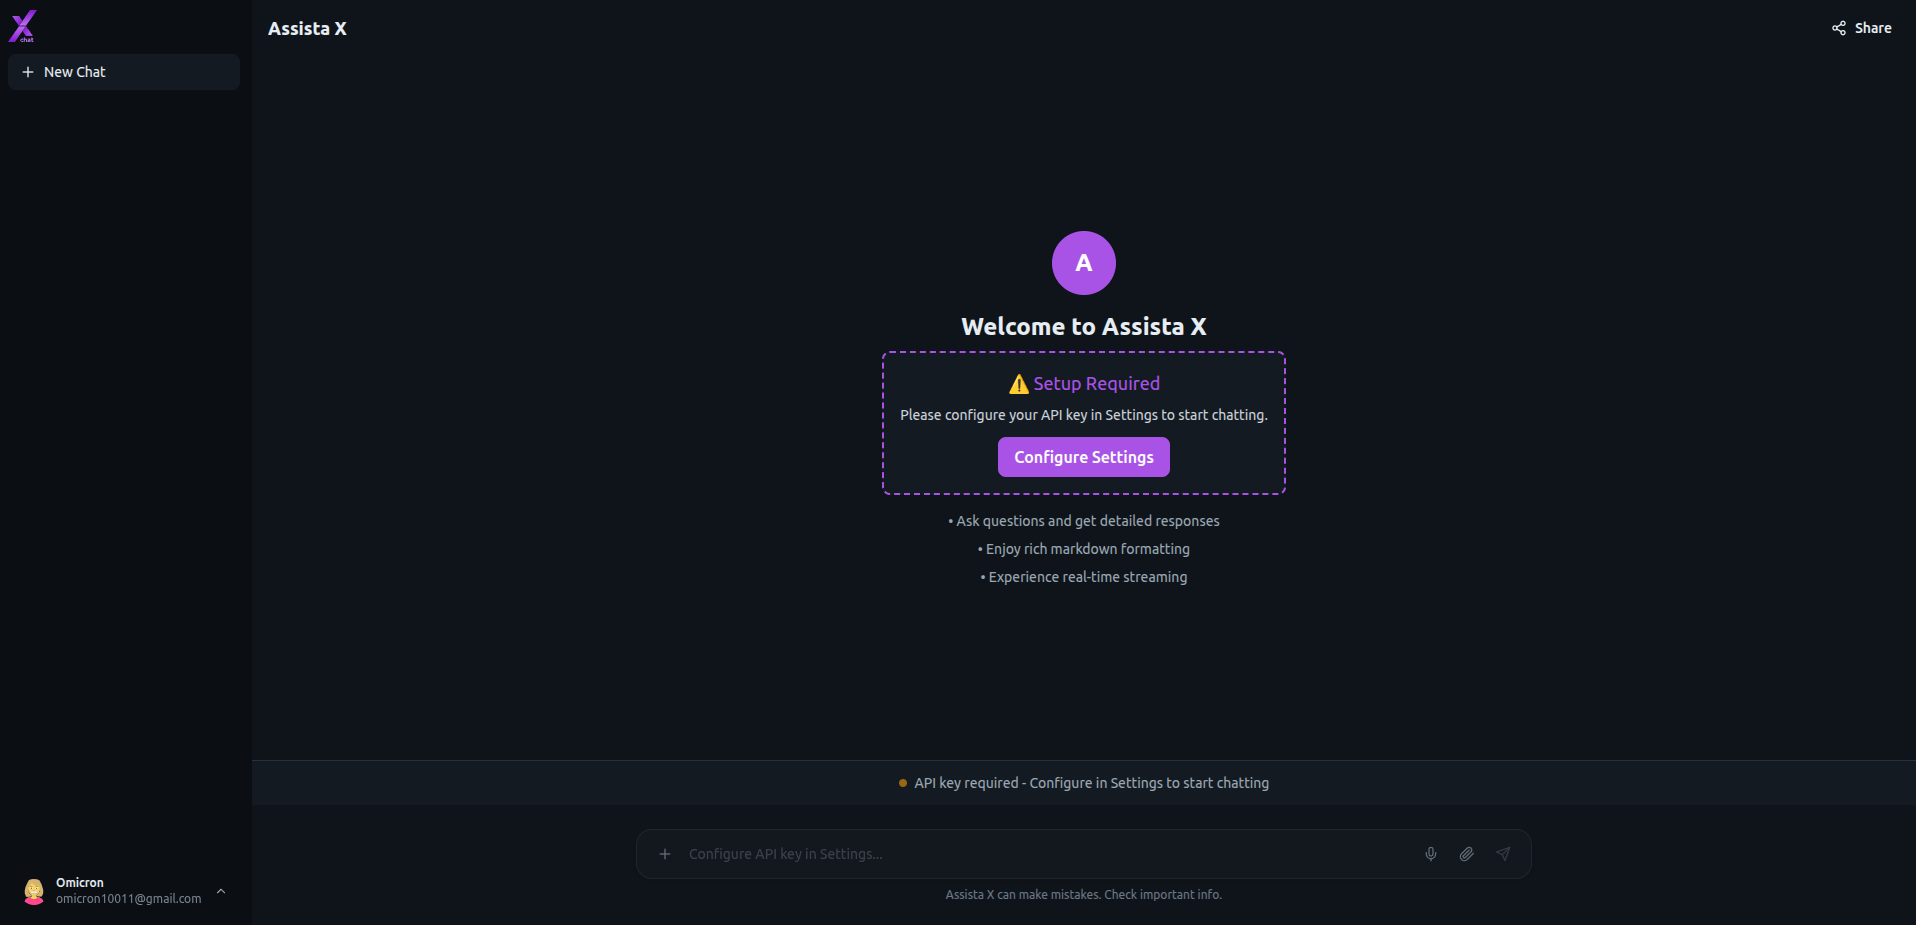
3. Open the Configuration Settings Modal
After logging in:
- Click the prominent Configure Settings button on the dashboard
or - Click the profile icon in the bottom-left corner of the app
A settings modal will appear with two key tabs: AI Provider and Odoo.
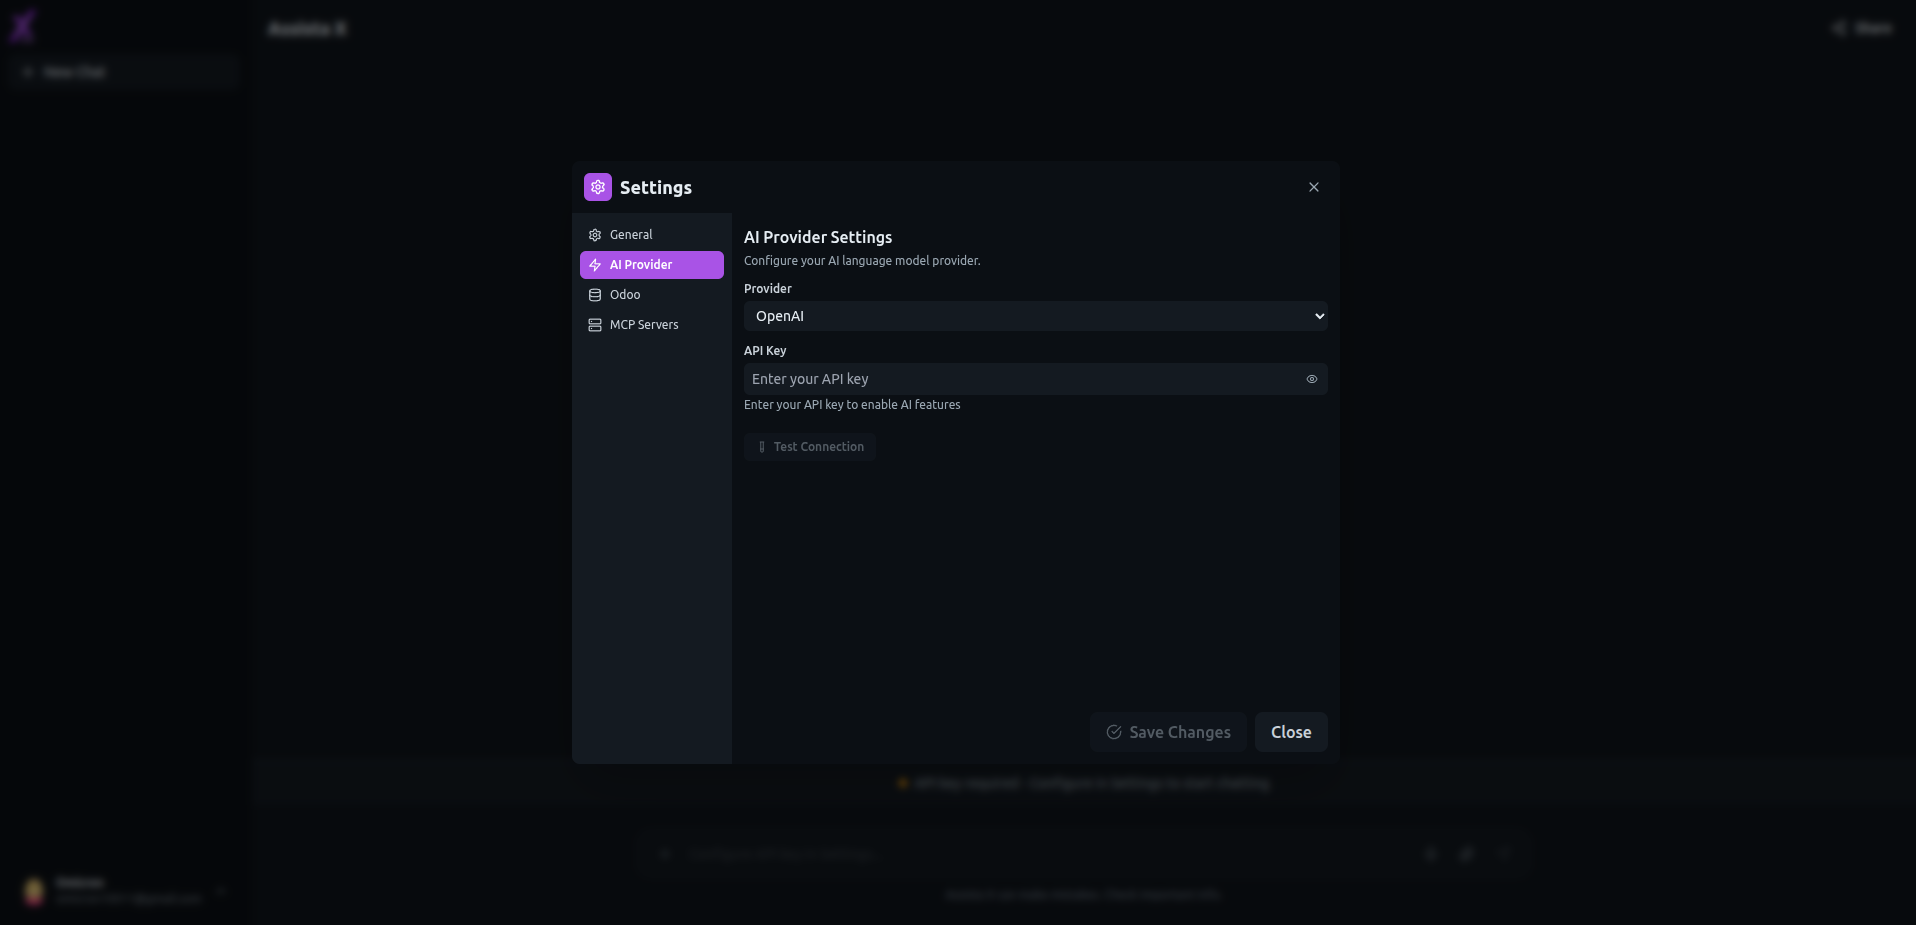
4. Set Up Your AI Provider
This powers the intelligence behind your Odoo chat!
- Inside the modal, open the AI Provider tab.
- Select your preferred AI service from the dropdown.
- Choose the AI model you want to use.
- Enter your API key and save to connect.
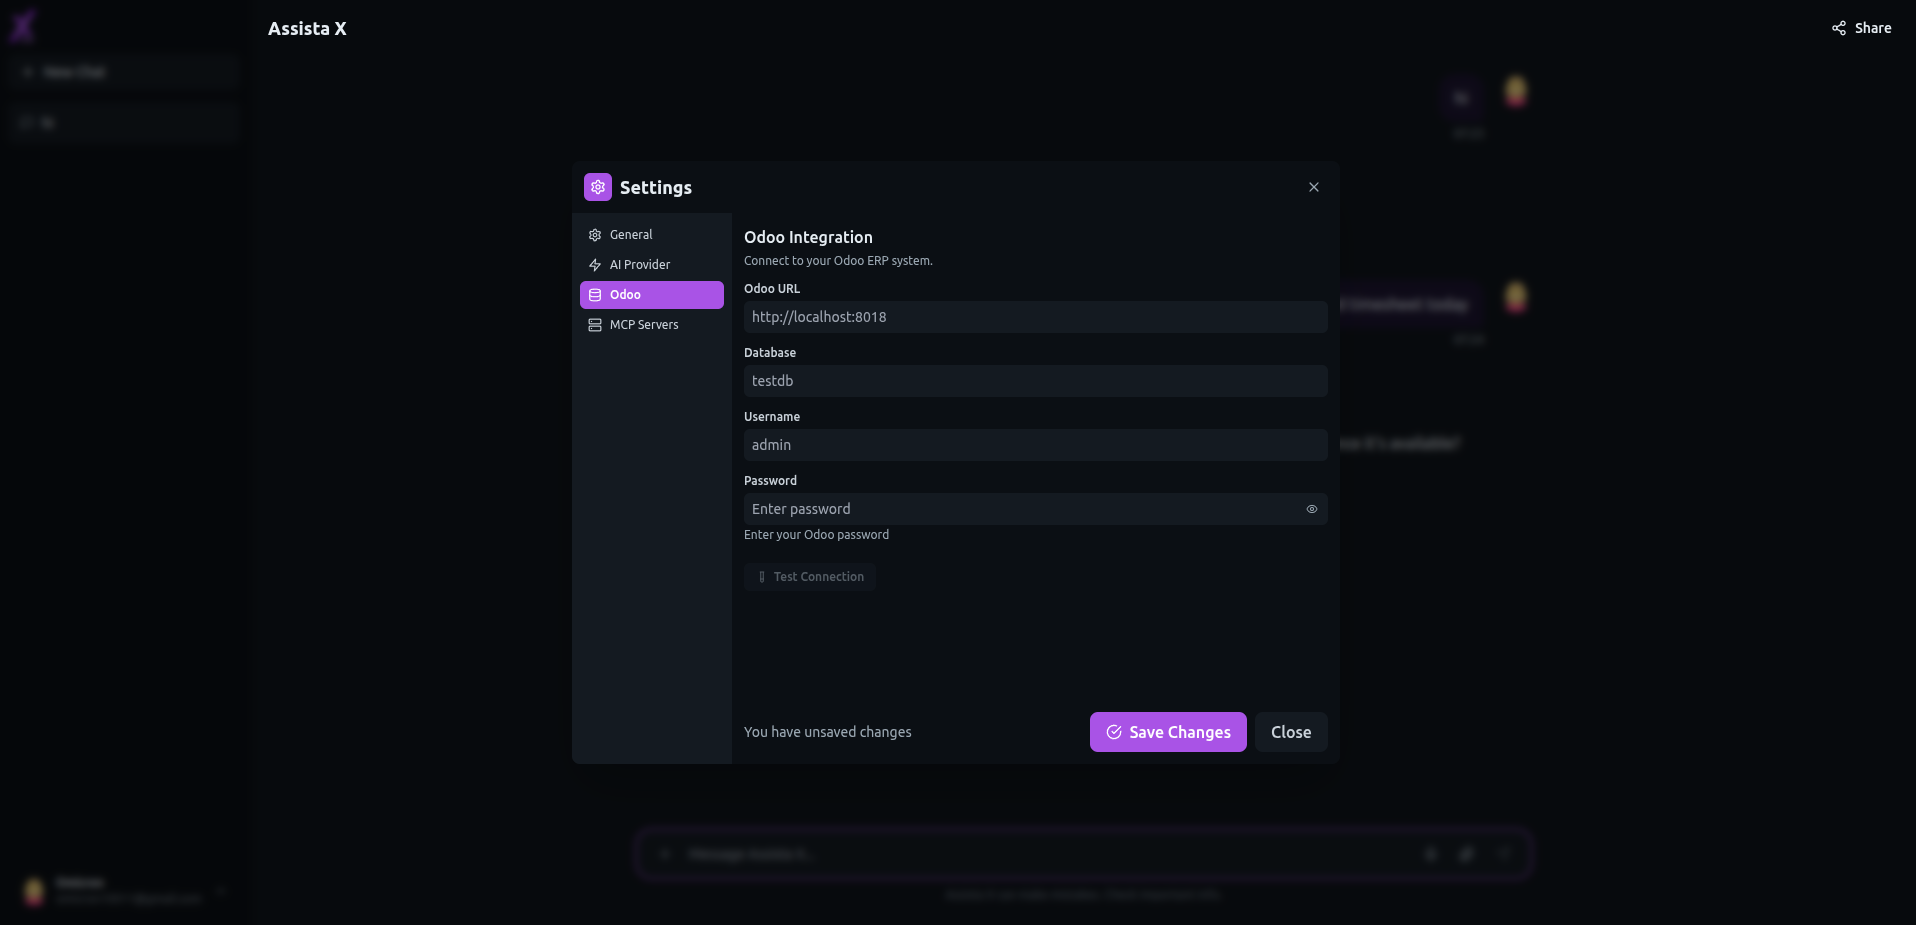
5. Connect to Your Odoo Server
Enable secure, real-time data access:
- Open the Odoo tab in the same settings modal.
- Enter these details:
- Server URL
- Database Name
- Password (or API key, if supported by your deployment)
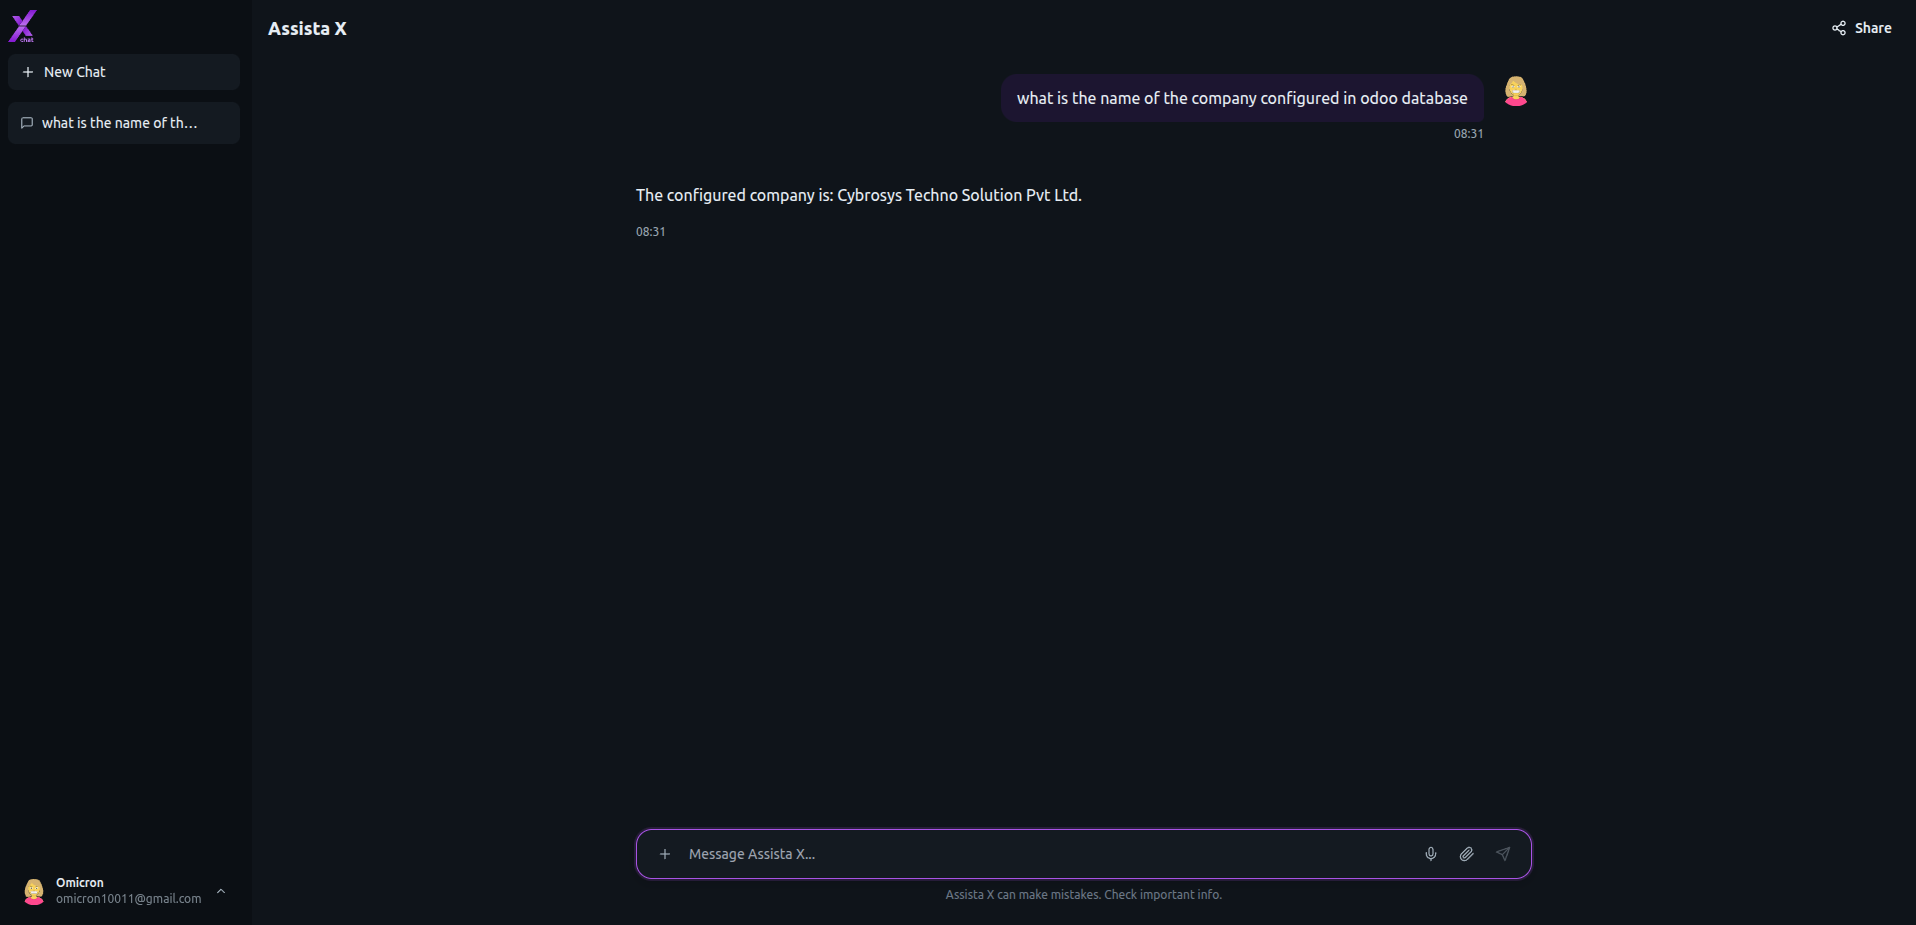
6. Start Chatting with Your Odoo Data!
- Close the settings modal—your configuration is complete.
- Type natural-language questions into the chat to get instant, actionable insights.
Try your first question:
"What were our total sales last week?"
What's Next?
- Experiment with various natural-language queries about your Odoo data.
Ready to uncover instant Odoo insights? Connect your AI provider, link your server, and let Assista X Chat handle the rest!